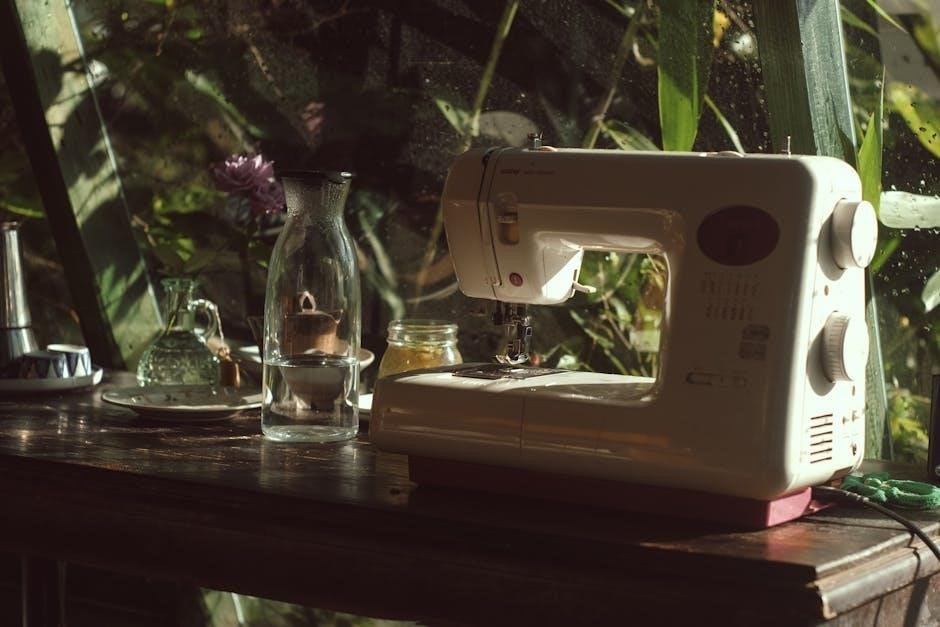
Brother sewing machines are a top choice for sewers of all levels, offering user-friendly designs, versatile features, and excellent support for beginners. With models suited for various projects, Brother machines provide a seamless sewing experience, making them ideal for both hobbyists and professionals. Their reputation for reliability and innovative technology ensures a smooth and creative journey for sewers worldwide.
1.1 Why Brother Sewing Machines Are Ideal for Beginners
Brother sewing machines are perfect for beginners due to their user-friendly design and straightforward functionality. They offer clear tutorials, automatic features like needle threading, and adjustable tension, making sewing easy. The machines are lightweight, portable, and come with intuitive controls, reducing learning curves. Additionally, Brother provides excellent customer support and online resources, ensuring beginners can troubleshoot and improve their skills confidently. These features make Brother machines an excellent starting point for anyone new to sewing.
1.2 Overview of Popular Brother Sewing Machine Models
Brother offers a range of sewing machines tailored to different needs. The CS7000i is a versatile computerized model with 70 built-in stitches, ideal for quilting and home decor. The XM2701 is a mechanical machine perfect for beginners, featuring 27 stitches and an easy-to-use design. The LX3817 combines affordability with essential features like automatic threading. These models are known for their durability, user-friendly interfaces, and adaptability to various fabrics, making them popular choices for sewers of all skill levels.
Unboxing and Initial Setup
Unboxing your Brother sewing machine reveals the machine, accessories, and manual. Plug it in, ensure all parts are included, and follow setup instructions for initial calibration.
2.1 What’s Included in the Box
Your Brother sewing machine box typically includes the machine, a set of accessories like bobbins, needles, and presser feet, a foot controller, and a comprehensive user manual. Additional items may vary by model but often include a dust cover, screwdriver, and spool pins. The manual is essential for understanding setup and operation, ensuring you can start sewing confidently. Always verify all components are present before initial use to avoid delays.
2.2 Plugging in and Powering On the Machine
To power on your Brother sewing machine, ensure the power cord is securely plugged into a compatible electrical outlet. Press the power button, typically located on the front or top of the machine. You’ll hear a gentle hum and see the lights illuminate. Always refer to your user manual for specific instructions, as some models may have additional features or requirements. Proper power setup ensures safe and smooth operation.
2.3 Initial Machine Calibration
Calibrating your Brother sewing machine ensures accurate stitching and proper alignment. Start by locating the calibration tool in your accessories. Insert it into the machine’s calibration port and follow the on-screen instructions. Gently press the tool until it clicks, ensuring the needle aligns with the stitch plate. Test the machine by sewing a straight line on scrap fabric. Proper calibration guarantees precise stitches and smooth operation. Always refer to your manual for specific calibration steps tailored to your model.
Understanding the Machine Parts
Identify key components like the spool pins, bobbin area, stitch selector, and presser foot. Familiarize yourself with the control panel, handwheel, and thread cutter for smooth operation.
3.1 Identifying Key Components of the Brother Sewing Machine
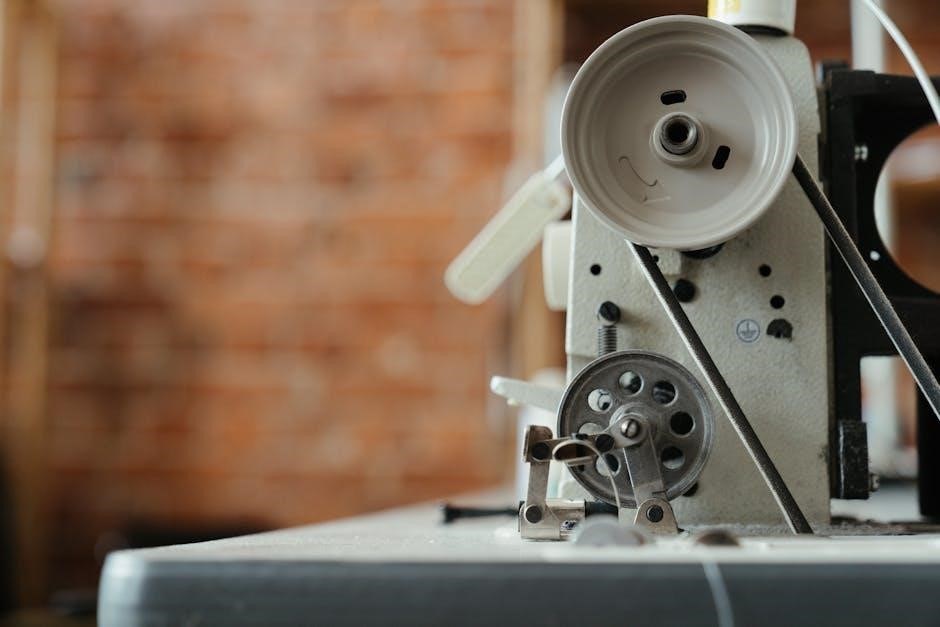
Understanding your Brother sewing machine starts with identifying its key components. The spool pins hold the thread, while the bobbin area is where the lower thread is stored. The stitch selector allows you to choose from various stitch patterns, and the presser foot holds the fabric in place. The control panel features buttons for stitch selection and adjustments. The handwheel manual control is used to raise or lower the needle, and the thread cutter trims excess thread. Familiarizing yourself with these parts ensures smooth operation and effective sewing.
3.2 Functions of the Control Panel
The control panel is the central hub for operating your Brother sewing machine. It features buttons for selecting stitches, adjusting stitch length and width, and accessing special functions like the backstitch. Some models include an LCD screen for easy visibility of settings. The panel allows you to customize your sewing experience, ensuring precise control over every stitch. Its intuitive design makes it easy to navigate, even for beginners, helping you achieve professional results with minimal effort.
Threading the Machine
Threading the machine is a crucial step that ensures smooth sewing. Properly guiding the upper thread and bobbin ensures consistent stitches and prevents issues. Follow guidelines for ease.
4.1 Step-by-Step Guide to Upper Threading
Upper threading is essential for smooth operation. Start by inserting the thread into the spool pin and gently pull it through the tension discs. Loop the thread around the take-up lever, ensuring it’s seated properly. Guide the thread through the needle bar and insert it into the needle’s eye. Pull the thread gently to ensure it’s taut but not overly tight. Proper threading ensures consistent stitches and prevents machine issues. Follow these steps carefully for optimal results.
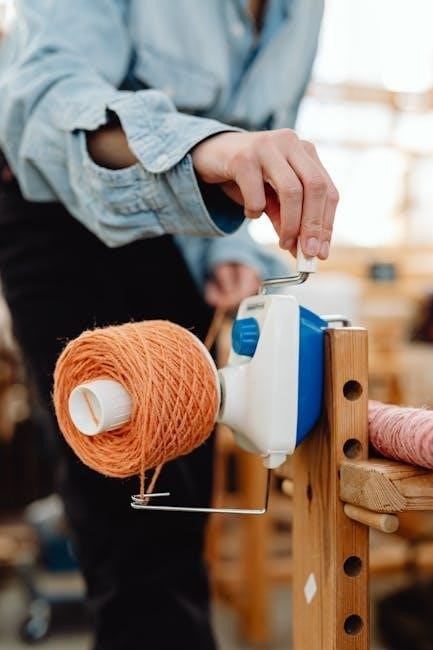
4.2 Proper Bobbin Winding Techniques
Proper bobbin winding is crucial for smooth sewing. Place the bobbin on the winder and secure it. Engage the winding mechanism and slowly wind the thread, keeping it taut. Avoid overfilling the bobbin. Once full, cut the thread and remove the bobbin. Trim excess thread close to the bobbin edge. Ensure the thread is evenly wound to maintain consistent tension. Properly wound bobbins prevent issues like uneven stitches or tangling during sewing. Always refer to your machine’s manual for specific winding instructions.
Setting Up the Bobbin
Proper bobbin setup ensures smooth sewing. Place the bobbin correctly, secure it, and wind thread evenly. Avoid overfilling and trim excess for consistent stitching.
5.1 How to Install the Bobbin Correctly
To install the bobbin, first remove the bobbin case from the machine. Place the wound bobbin into the case, ensuring the thread unwinds counterclockwise. Secure the bobbin by pulling the thread gently and closing the case. Insert the case back into the machine, aligning it properly. Make sure the bobbin is seated correctly and the thread is not tangled. This ensures smooth stitching and prevents machine jams during sewing.
5.2 Adjusting Bobbin Tension
Proper bobbin tension is essential for smooth stitching. Locate the small screw on the bobbin case and turn it clockwise to tighten or counterclockwise to loosen. Test the tension by gently tugging the thread; it should feel firm but not overly tight. If the thread is too loose, stitches may be uneven. If too tight, it could damage the machine. Adjust in small increments and test each time. Refer to your Brother sewing machine manual for specific guidance to ensure optimal performance.
Choosing the Right Stitch
Brother sewing machines offer various built-in stitches, including straight, zigzag, and decorative options. Selecting the right stitch depends on fabric type and desired results for optimal sewing outcomes.
6.1 Overview of Built-In Stitches
Brother sewing machines come with a variety of built-in stitches, including straight, zigzag, and decorative options. These stitches cater to different fabrics and projects, from basic repairs to intricate designs. Many models feature over 100 stitches, offering versatility for both beginners and experienced sewers. Additionally, some machines include automatic buttonhole settings and stretch stitches for knitting fabrics. The stitch selection process is typically straightforward, with clear controls and displays to help users choose the perfect stitch for their needs.
6;2 Selecting the Appropriate Stitch for Your Fabric
Selecting the right stitch for your fabric is crucial for professional results. Brother machines offer various stitches suited for different materials. Use straight stitches for cotton, linen, or denim, while zigzag stitches are ideal for stretchy fabrics like knits. Decorative stitches add elegance to projects, but ensure they match the fabric weight. Always test stitches on scrap fabric to ensure compatibility and adjust stitch length or width as needed for optimal performance and fabric integrity.

Basic Sewing Operations
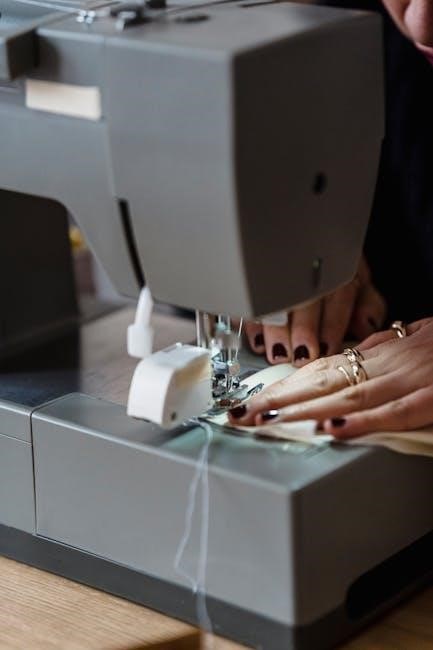
Start by pressing the foot controller to begin sewing. Guide the fabric smoothly under the needle. Use the handwheel to raise the needle and lift the presser foot to reposition fabric; Cut threads using the built-in cutter for a clean finish. These steps ensure precise control and professional results for your sewing projects.
7.1 Starting Your First Sewing Project
Begin by plugging in your Brother sewing machine and ensuring it’s properly threaded. Install the bobbin and select a basic straight stitch. Place your fabric under the presser foot, aligning the edge with the machine’s guide. Gently press the foot controller to start sewing. Keep the fabric steady and let the machine guide it smoothly. Practice on scrap fabric first to get a feel for the machine’s rhythm. This will help you build confidence for your first project.
7.2 Using the Foot Controller
The foot controller allows you to control the sewing speed effortlessly. Gently press it down to start sewing, and release to stop. The machine will pause immediately when you lift your foot. For precise control, apply steady, light pressure. This feature is especially useful for managing fabric movement and maintaining even stitches. Practice using the foot controller on scrap fabric to get comfortable with its sensitivity before working on your actual project.
7.3 Cutting Threads and Removing Fabric
After completing your seam, pull the fabric to the left side of the machine. Use the thread cutter to trim the threads close to the fabric. Raise the presser foot lever to release the fabric. Gently pull the fabric away from the machine. For clean results, ensure the threads are cut neatly. This step ensures your project is ready for the next stage or completion. Always handle the fabric carefully to avoid distorting the stitches.
Working with Different Fabrics
Brother sewing machines are versatile for various fabrics, from delicate silks to thick denims. Adjusting settings and using the right accessories ensures optimal results for any material, making them ideal for both beginners and experienced sewers.
8.1 Tips for Sewing Various Fabric Types
- Adjust machine settings for fabric thickness and texture to ensure even stitching.
- Use the appropriate presser foot for delicate, heavy, or stretchy fabrics.
- Choose the right needle type to prevent damage or breakage.
- For silk or chiffon, use a sharp needle and stabilizing interfacing.
- When sewing denim, use a heavy-duty needle and longer stitch length.
- Test fabric scraps to ensure proper thread tension and stitch settings.
- Use a walking foot for thick or layered fabrics to maintain smooth feeding.
- Baste delicate seams by hand or with a zigzag stitch for stability.
8.2 Adjusting Settings for Delicate or Thick Fabrics
For delicate fabrics like silk or chiffon, reduce stitch length and tension, and use a sharp needle. Increase stitch length and use a heavy-duty needle for thick fabrics like denim. Adjust presser foot pressure to prevent fabric stretching or bunching. Use the walking foot for even feeding on thick layers. Test settings on scrap fabric to ensure proper results. Proper adjustments ensure smooth sewing and prevent damage to both fabric and machine.
Thread Tension and Troubleshooting
Proper thread tension is crucial for smooth sewing. Common issues include uneven stitches or fabric bunching. Adjust tension dials for upper and bobbin threads. Clean the machine regularly to prevent thread jams. Refer to the manual for troubleshooting guides. Correcting tension ensures consistent stitching and prevents machine damage. Regular maintenance helps avoid common sewing problems and extends machine longevity. Always test tension on scrap fabric before starting projects.
9.1 Understanding Thread Tension
Thread tension is crucial for consistent stitching. Proper tension ensures fabric feeds smoothly, preventing uneven stitches or bunching. Brother machines feature adjustable dials for upper and bobbin threads. Correct tension varies by fabric type and thickness. Too tight may cause thread breakage, while too loose leads to loose stitches. Always test tension on scrap fabric before sewing. Maintaining the right balance ensures professional results and extends machine longevity. Adjusting tension is a simple process that enhances sewing quality significantly.
9.2 Common Issues and Solutions
Common issues with Brother sewing machines include thread bunching, fabric not moving, or error messages. These are often due to incorrect thread tension, improper presser foot placement, or jammed debris. Solutions involve checking thread alignment, ensuring the presser foot is raised, and clearing any blockages. Regularly cleaning the machine and oiling it can prevent many issues. Always refer to the manual for specific troubleshooting steps, and consider resetting the machine if problems persist. Proper maintenance ensures smooth operation and extends the machine’s lifespan.
Maintenance and Care
Regular cleaning, oiling, and checking for dust or lint ensures optimal performance. Proper care extends the machine’s lifespan and prevents mechanical issues, keeping it running smoothly.
10.1 Cleaning the Machine
Regular cleaning is essential to maintain your Brother sewing machine’s performance. Use a soft brush to remove dust and lint from the bobbin area and feed dogs. Turn the handwheel to access the needle bar and gently sweep away debris. For stubborn particles, use compressed air but avoid spraying directly into openings. Dampen a cotton swab with water to wipe down metal parts, but never use harsh chemicals. Cleaning regularly prevents thread jams and ensures smooth stitching, keeping your machine in optimal condition for years.
10.2 Oiling and Servicing
Regular oiling is crucial for maintaining your Brother sewing machine’s smooth operation. Use high-quality sewing machine oil, applying a few drops to the oil ports as indicated in your manual. Gently turn the handwheel to distribute the oil evenly. After oiling, run a scrap fabric through the machine to remove excess oil. Service your machine every 1-2 months or after heavy use to ensure optimal performance and longevity. Always refer to your manual for specific servicing recommendations to keep your machine in top condition.
Accessories and Optional Features
Brother sewing machines offer a variety of accessories, including bobbins, presser feet, and embroidery hoops, to enhance your sewing experience. Optional features like automatic threading and embroidery capabilities expand creative possibilities, while extension tables and carrying cases add convenience. Explore these tools to maximize your machine’s potential and tailor your projects with precision and ease.
11.1 Useful Accessories for Brother Sewing Machines
Brother sewing machines come with a variety of useful accessories to enhance your sewing experience. Essential items include bobbins, presser feet, and embroidery hoops, which cater to different fabric types and projects. Additional accessories like extension tables provide more workspace, while carrying cases offer portability. Optional features such as automatic threading and embroidery capabilities expand creative possibilities. These tools are designed to make sewing easier and more efficient, allowing you to explore a wide range of techniques and projects with confidence.
11.2 Exploring Advanced Features
Brother sewing machines offer advanced features that elevate your sewing experience. From embroidery capabilities to automatic threading, these tools enhance creativity and efficiency. Advanced models include specialized stitches, memory storage for custom designs, and even Wi-Fi connectivity for downloading patterns. Optional features like couching and buttonhole settings allow for intricate designs. Tutorial videos and guides provide step-by-step instructions to master these features, ensuring users can fully utilize their machine’s potential for complex projects and professional-grade results.
Congratulations! You’ve completed the guide to mastering your Brother sewing machine. Practice regularly, explore new techniques, and enjoy creating with confidence. Happy sewing!
12.1 Final Tips for Mastering Your Brother Sewing Machine
- Start with simple projects to build confidence and skills.
- Practice regularly to become familiar with your machine’s features.
- Watch tutorial videos for visual guidance on advanced techniques.
- Join sewing communities for tips, inspiration, and troubleshooting.
- Refer to your manual for specific instructions and maintenance tips.
- Experiment with different fabrics to understand their behavior.
- Keep your machine well-maintained for optimal performance;
- Stay patient and persistent—mastering sewing takes time.