This manual provides a comprehensive guide for installing the Aprilaire 400 system, ensuring proper setup and functionality. It includes step-by-step instructions, safety tips, and best practices for a successful installation.
1.1 Overview of the Aprilaire 400 System
The Aprilaire 400 is a whole-house humidifier designed to add moisture to dry air, improving indoor comfort and air quality. It features automatic digital control, dual sensors for precise humidity levels, and compatibility with most HVAC systems. The system is energy-efficient, quiet, and built for long-lasting performance. It covers homes up to 4,000 square feet and is ideal for residential use. Proper installation and maintenance ensure optimal functionality, making it a reliable solution for managing humidity year-round.
1.2 Importance of Proper Installation
Proper installation of the Aprilaire 400 is crucial for optimal performance, efficiency, and longevity. Incorrect installation can lead to reduced system effectiveness, increased energy bills, and potential damage to the unit or home. It ensures accurate humidity control, prevents over-humidification, and avoids issues like mold growth or uneven air distribution. Proper installation also guarantees safety, adheres to manufacturer warranties, and maintains indoor air quality. Following the manual’s guidelines ensures the system operates as intended, providing reliable and consistent results for years to come.
1.3 Safety Precautions and Guidelines
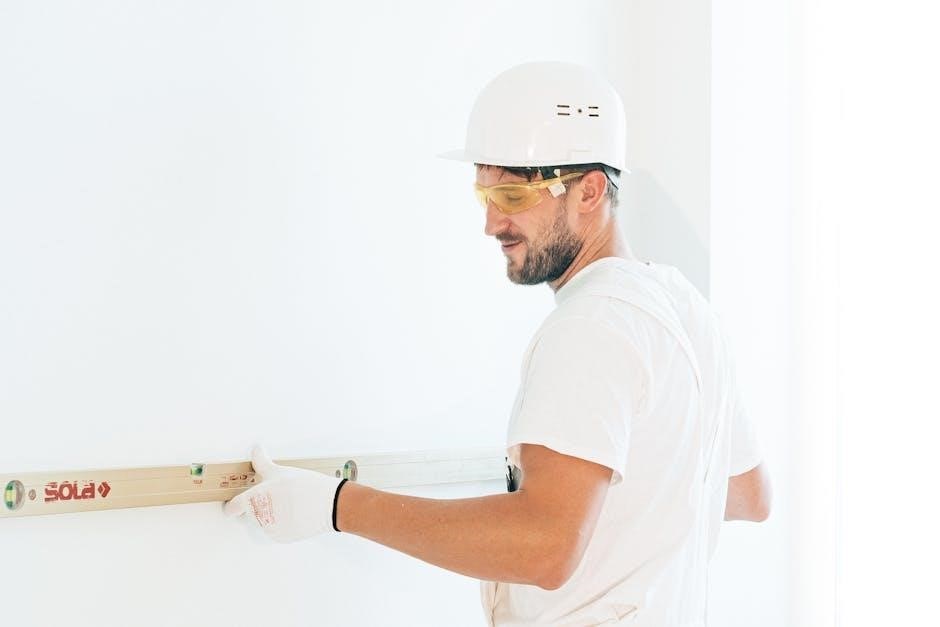
Adhering to safety guidelines is essential during the installation of the Aprilaire 400. Always disconnect power sources before starting work to prevent electrical shocks or injuries. Wear protective gear, including gloves and safety glasses, when handling sharp objects or tools. Ensure the installation area is well-ventilated and free from flammable materials. Follow all local building codes and manufacturer recommendations to avoid hazards. Improper installation can lead to system malfunctions, safety risks, or voiding the warranty. Prioritize caution to ensure a safe and successful installation process.

Pre-Installation Steps
Pre-installation steps ensure a smooth setup. Understand system components, gather tools, and prepare the site. Proper planning prevents delays and ensures compliance with manufacturer guidelines.
2.1 Understanding the System Components
Understanding the Aprilaire 400 components is crucial for a successful installation. The system includes the main unit, control board, sensors, ductwork, and remote or thermostat. Each part plays a specific role in humidity control. Familiarize yourself with the components to ensure proper installation and functionality. Refer to the manufacturer’s documentation for detailed descriptions and diagrams. Knowing each part’s purpose helps in identifying potential issues and ensures compatibility with your HVAC system. Proper understanding also aids in troubleshooting and maintenance, ensuring optimal performance and longevity of the system.
2.2 Gathering Necessary Tools and Materials
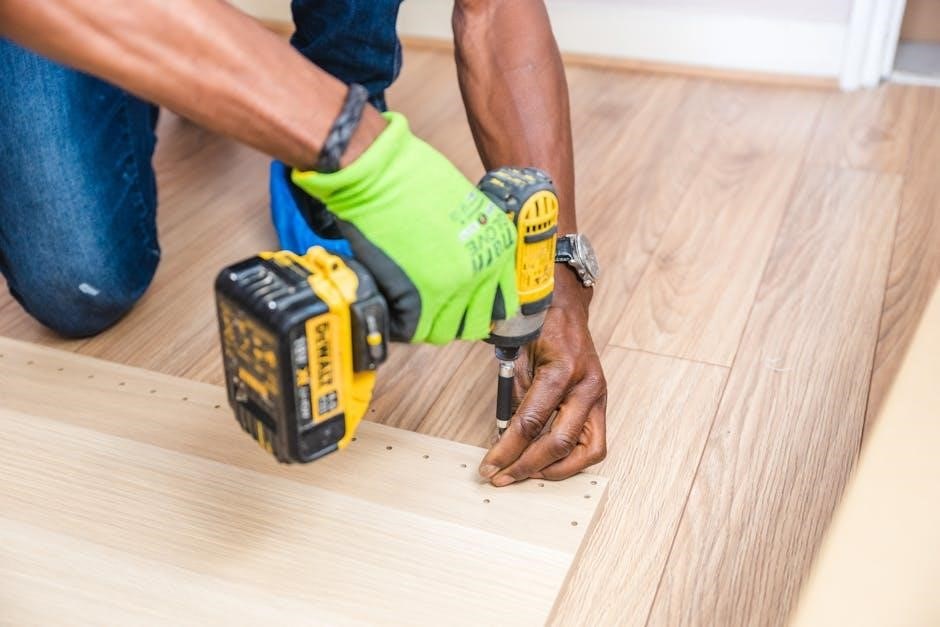
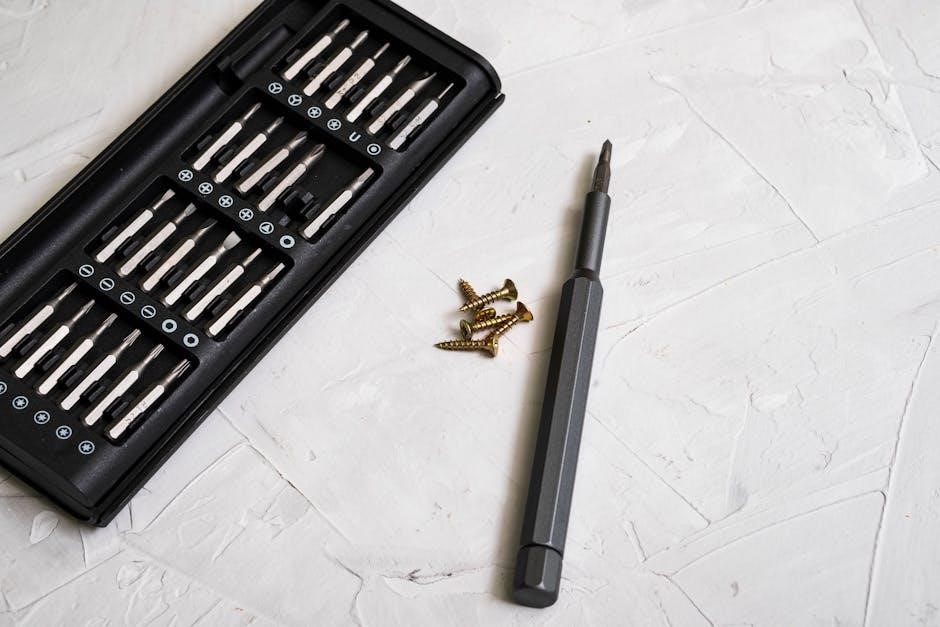
To ensure a smooth installation, gather all required tools and materials beforehand. Essential tools include screwdrivers, pliers, wrenches, a drill with bits, tape measure, and a level. For ductwork, you’ll need duct tape, sealants, and cutting tools. Electrical connections require wire strippers, connectors, and a voltage tester. Materials include the Aprilaire 400 unit, mounting brackets, screws, ducts, and filters. Refer to the manufacturer’s list for specific items. Organize everything before starting to save time and avoid delays during the installation process.
2.3 Preparing the Installation Site
Preparing the installation site is crucial for a smooth setup. Clear the area of debris, ensuring it’s clean, dry, and level. Check for any obstructions and ensure good accessibility. Verify that the site is structurally sound to support the unit’s weight. Ensure the location aligns with the system’s requirements, such as proximity to ductwork and electrical connections. Proper preparation prevents delays and ensures the Aprilaire 400 operates efficiently. Having all tools and materials nearby will also streamline the process.

Installation Process
The installation process involves mounting the unit, connecting ductwork, and wiring. Follow the manual’s instructions carefully to ensure proper setup and functionality. Precision is key.
3.1 Mounting the Aprilaire 400 Unit
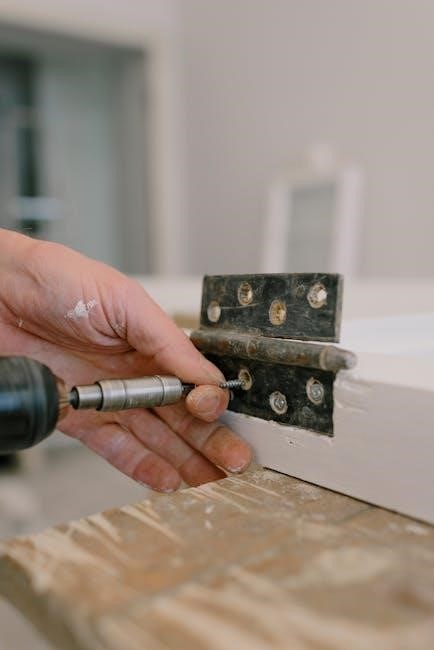
Mounting the Aprilaire 400 unit requires careful planning and precision. Choose a location that allows easy access for maintenance and ensures proper airflow. Use the provided hardware to secure the unit firmly to the wall or floor, following the manufacturer’s guidelines. Ensure the unit is level and plumb to prevent vibration and imbalance. Double-check all fasteners for tightness and verify that the unit is stable. Proper mounting is essential for optimal performance and longevity of the system. Always refer to the manual for specific torque and alignment specifications.
3.1.1 Choosing the Right Location
Choosing the right location for the Aprilaire 400 unit is crucial for optimal performance. Select a spot close to the HVAC system to minimize ductwork complexity. Ensure the area is dry, well-ventilated, and accessible for maintenance. Avoid locations exposed to direct sunlight, extreme temperatures, or high humidity. The unit should be installed on a level surface, preferably near a drain if applicable. Proper placement ensures efficient operation, reduces noise, and prolongs the system’s lifespan. Always follow local building codes and manufacturer recommendations for ideal placement.

3.1.2 Securing the Unit to the Wall or Floor
Secure the Aprilaire 400 unit to the wall or floor using the provided hardware. Ensure the surface is level and sturdy to support the unit’s weight. Use anchor screws or brackets to prevent movement or vibration. Tighten all fasteners firmly, but avoid over-tightening to prevent damage. If installing on a wall, check for studs to ensure stability. For floor installations, ensure the unit is level and evenly supported. Proper securing ensures safe operation, reduces noise, and prevents damage to the system. Always follow the manufacturer’s recommendations for mounting hardware and techniques.
3.2 Connecting the Ductwork
Connect the ductwork to the Aprilaire 400 unit by aligning the ducts with the system’s intake and outlet ports. Use compatible connectors and seals to ensure airtight connections. Secure the ducts with clamps or screws, tightening firmly to prevent leaks. Ensure proper alignment to maintain airflow efficiency. If necessary, use flexible ducts to navigate around obstacles, but avoid sharp bends that could restrict airflow. Double-check all connections for tightness and integrity before proceeding. Proper ductwork connection is essential for optimal system performance and energy efficiency.
3.2.1 Measuring and Cutting Ducts
Measure the ducts according to the system’s specifications and the space available. Use a tape measure to ensure accuracy, and mark the ducts with a pencil. Cut the ducts using a duct cutter or a saw, ensuring clean, straight edges. Avoid uneven cuts, as they can lead to poor connections. After cutting, deburr the edges to prevent damage to the duct material and ensure smooth airflow. Verify the measurements before finalizing the cuts to avoid waste and ensure proper fitment with the Aprilaire 400 unit and existing ductwork.
3.2.2 Ensuring Proper Sealing and Insulation
Proper sealing and insulation are critical to maintain efficient airflow and prevent energy loss. Use mastic sealants or metal-backed tapes to seal all duct connections and joints. Inspect the ducts for gaps or damage before sealing. Once sealed, wrap the ducts with insulation material to minimize heat transfer and condensation. Ensure all connections to the Aprilaire 400 unit are tightly sealed to maintain system performance. Proper insulation also reduces noise and ensures consistent airflow throughout the system. Double-check all seals for durability and longevity.
3.3 Wiring and Electrical Connections
Begin by turning off the power supply to the HVAC system at the circuit breaker. Connect the Aprilaire 400 control board to the system’s wiring harness, ensuring all terminals are securely fastened. Wire the unit to the HVAC system’s control circuit, following the manufacturer’s wiring diagram. Install sensors for humidity, temperature, and airflow as directed. Use a voltage tester to verify electrical connections are live before proceeding. Ensure all wires are neatly routed and secured to prevent damage. Refer to local electrical codes for compliance. Double-check all connections to avoid short circuits or malfunctions during operation.
3.3.1 Connecting to the HVAC System
Connect the Aprilaire 400 to your HVAC system by identifying the appropriate terminals on the control board. Use 24V wires to link the unit to the system’s control circuit, ensuring compatibility with your HVAC’s operating voltage. Refer to the wiring diagram provided in the manual for specific connections. Secure all wires tightly to avoid loose connections. Turn off the power supply before starting this step to prevent electrical shocks. Once connected, test the system to ensure proper communication between the Aprilaire 400 and your HVAC system. Consult local electrical codes for compliance and safety standards.
3.3.2 Installing the Control Board and Sensors
Mount the control board in an accessible location, ensuring it is level and secure. Connect the sensors according to the wiring diagram, making sure they are properly aligned and calibrated. Use the provided connectors to link the sensors to the control board, ensuring tight and secure connections. Avoid bending or pinching wires during installation. Once installed, test the sensors to confirm they are functioning correctly and communicating with the control board. Refer to the manual for specific calibration instructions if necessary. Proper installation ensures accurate system operation and optimal performance.
Post-Installation Procedures
After installation, test the system to ensure proper function. Check for leaks and verify airflow. Make any necessary adjustments to settings. Clean up the area and dispose of packaging materials properly.
4.1 Testing the System
After installation, turn on the Aprilaire 400 and run an initial test to ensure all components function correctly. Check for proper airflow, humidity levels, and system responsiveness. Verify that the unit powers on, cycles through modes, and responds to controls. Inspect for any unusual noises or vibrations. Ensure all sensors and safety features operate as intended. Monitor the system’s performance under different settings to confirm reliability and efficiency. Address any issues immediately to prevent operational problems. This step ensures the system is ready for long-term use and meets performance expectations.
- Verify airflow and humidity levels.
- Check system responsiveness and controls.
- Inspect for unusual noises or vibrations.
- Ensure sensors and safety features work.
- Monitor performance under different settings.
4.1.1 Running Initial Tests
Once installed, power on the Aprilaire 400 and run initial tests to confirm functionality. Start by checking the power supply and ensuring the unit turns on. Verify the control panel responds to input and cycles through modes. Check humidity levels using the built-in sensor or an external hygrometer. Ensure the system engages the fan and humidifier appropriately. Test the drain system to confirm proper water flow and drainage. Verify all safety features, such as overflow protection, are active. Use this step to identify and address any immediate issues before full operation begins.
- Check power supply and unit startup.
- Verify control panel responsiveness.
- Test humidity sensor accuracy.
- Confirm fan and humidifier operation.
- Inspect drain system functionality.
- Ensure safety features are active.
4.1.2 Checking for Leaks and Proper Airflow
After initial tests, inspect the system for any leaks in the ductwork, connections, or drain lines. Ensure all joints are sealed tightly and inspect for water droplets or condensation. Verify proper airflow by checking that air flows evenly through vents and grilles. Use a handheld anemometer or tissue to measure airflow strength. Ensure no blockages exist in ducts or filters. Address any leaks or airflow imbalances promptly to maintain system efficiency and prevent damage. Proper airflow is critical for humidity control and overall system performance.
- Inspect all connections for leaks.
- Check ducts for blockages or damage.
- Verify even airflow through vents.
- Address any issues immediately.
4.2 Final Adjustments and Settings
Once the system is installed and tested, perform final adjustments to ensure optimal performance. Set the humidistat to the desired humidity level and adjust the damper for proper airflow balance. Verify the control board settings align with your HVAC system and ensure all sensors are calibrated. Test the system under normal operating conditions to confirm smooth operation. Make any necessary fine-tuning adjustments to achieve the desired humidity levels and airflow distribution throughout your home.
- Set the humidistat to the desired level.
- Adjust the damper for balanced airflow.
- Calibrate sensors and verify settings.
- Test the system under normal conditions.
4.3 Cleaning Up and Disposal of Packaging
After completing the installation, thoroughly clean the work area and dispose of all packaging materials responsibly. Recycle cardboard, plastic, and other recyclable items. Ensure the installation site is free from debris and tools are stored properly. Double-check for any leftover materials or components and organize them for future use. Properly dispose of any non-recyclable items according to local regulations. A clean workspace ensures safety and readiness for system operation.
- Recycle cardboard, plastic, and recyclable materials.
- Dispose of non-recyclable items responsibly.
- Organize leftover components for future use.
- Ensure the workspace is clean and safe.
Maintenance and Troubleshooting
This section covers essential maintenance routines and troubleshooting tips to ensure the Aprilaire 400 operates efficiently. Regular upkeep and prompt issue resolution extend system lifespan and performance;
5.1 Regular Maintenance Tasks
Regular maintenance is crucial for optimal performance of the Aprilaire 400. This includes replacing the filter every 6-12 months, cleaning the unit, and inspecting ducts for blockages. Ensure proper airflow by checking vents and registers for obstructions. Additionally, verify electrical connections are secure and free from damage. Refer to the manufacturer’s recommended schedule for detailed maintenance intervals. Consistent upkeep prevents issues, enhances efficiency, and prolongs system lifespan. Always follow safety guidelines when performing maintenance tasks.
5.1.1 Replacing the Filter
Replacing the filter in your Aprilaire 400 is essential for maintaining air quality and system efficiency. Turn off the power before accessing the filter. Open the unit or filter door, depending on your model, and pull out the old filter. Dispose of it properly. Insert the new filter, ensuring it is the correct type and size recommended by the manufacturer. Close the door securely and restore power. Replace the filter every 6-12 months or as indicated by the system’s sensor. A clean filter improves airflow, reduces energy use, and enhances overall performance.
5.1.2 Cleaning the Unit and Ducts
Regular cleaning of the Aprilaire 400 unit and ducts is crucial for optimal performance and air quality. Turn off the power before cleaning. Use a soft brush or vacuum to remove dust and debris from the unit’s exterior and interior components. For the ducts, inspect and clean them annually or as needed. Ensure all vents and grilles are clear of obstructions. Cleaning prevents dust buildup, reduces allergens, and maintains efficient airflow. Always follow the manufacturer’s cleaning recommendations to avoid damaging the system. A clean unit and duct system ensure better air quality and longer equipment lifespan.
5.2 Common Issues and Solutions
Common issues with the Aprilaire 400 may include reduced airflow, sensor malfunctions, or water leakage. For reduced airflow, check and clean the filter or ducts. If sensors malfunction, ensure proper wiring and connections. Water leakage may indicate improper drainage installation. Always refer to the manual for troubleshooting steps. If issues persist, contact a certified technician. Regular maintenance can prevent many of these problems. Addressing issues promptly ensures optimal performance and extends the system’s lifespan. Keep the manual handy for quick reference and solutions.
5.3 Understanding Error Codes and Alarms
The Aprilaire 400 system may display error codes or trigger alarms to indicate specific issues. These codes help diagnose problems such as sensor faults, power failures, or communication errors. Refer to the manual for a list of error codes and their meanings. Addressing these issues promptly ensures system efficiency and prevents further damage. If an error persists after troubleshooting, contact a certified technician; Familiarizing yourself with these codes can help you resolve issues quickly and maintain optimal performance. Always follow safety guidelines when investigating or repairing system alarms.
Best Practices and Safety Tips
Adhere to manufacturer guidelines, ensure proper ventilation, and avoid common installation mistakes. Always follow safety protocols to prevent hazards and ensure a reliable Aprilaire 400 system operation.
6.1 Following Manufacturer Guidelines
Adhering to the manufacturer’s instructions is crucial for a successful installation. Always refer to the official Aprilaire 400 manual for specific guidance. Ensure compliance with safety standards, system specifications, and recommended practices. Double-check all requirements before starting the installation. Follow the step-by-step procedures outlined in the manual to avoid errors. This ensures optimal performance, reliability, and longevity of the system. Proper adherence also helps maintain warranty validity and prevents potential hazards. Visit the Aprilaire website for additional resources or updates to the guidelines.
6.2 Ensuring Proper Ventilation
Proper ventilation is essential for the Aprilaire 400 system to function efficiently. Ensure that all ducts and vents are clear of obstructions to maintain optimal airflow. Regularly inspect and clean vents to prevent dust buildup, which can reduce system performance. Proper ventilation also helps regulate humidity levels and prevent mold growth. Always ensure that the system is vented correctly to avoid moisture accumulation. Follow the manufacturer’s recommendations for venting configurations to ensure the system operates safely and effectively. Proper ventilation is key to maintaining indoor air quality and system longevity.
6.3 Avoiding Common Installation Mistakes
To ensure a successful installation, avoid common mistakes such as incorrect duct sizing, improper sealing of connections, or neglecting to follow manufacturer guidelines. Always double-check measurements and ensure all components are compatible. Improper wiring or electrical connections can lead to system malfunctions, so consult the manual for specific instructions. Additionally, failing to level the unit or ignoring ventilation requirements can reduce efficiency. By carefully following the installation manual and paying attention to detail, you can avoid these pitfalls and ensure optimal performance of your Aprilaire 400 system.
Completing the Aprilaire 400 installation successfully ensures optimal performance and improved indoor air quality. Adhering to the manual’s guidelines guarantees efficiency and reliability. Regular maintenance will ensure long-term functionality and satisfaction.
7.1 Summary of Key Installation Steps
The Aprilaire 400 installation involves several critical steps, starting with proper site preparation and component assembly. Mounting the unit securely is essential, followed by precise ductwork connections. Electrical wiring must be done carefully, ensuring compatibility with the HVAC system. Testing the system post-installation is crucial to verify functionality and airflow. Finally, adjusting settings and ensuring all connections are secure guarantees optimal performance. Adhering to these steps ensures a safe and efficient installation process, leading to improved indoor air quality and long-term system reliability.
7.2 Final Thoughts on Successful Installation
Completing the Aprilaire 400 installation successfully requires careful attention to detail and adherence to the provided guidelines. Proper installation ensures optimal performance, improved indoor air quality, and long-term reliability. By following the manual, you’ve taken a significant step toward enhancing your home’s comfort and health. Regular maintenance and timely adjustments will further ensure the system operates efficiently. If unsure about any step, consulting a professional is recommended. Congratulations on completing the installation—your effort will yield lasting benefits for your home and family.