A body measurement chart for sewing PDF is a comprehensive tool providing detailed guides for accurate garment fitting․ It ensures comfort, proper fit, and customization, making it essential for sewists of all levels․
Overview of the Importance of Accurate Measurements
Accurate body measurements are vital for achieving a perfect fit in sewing projects, ensuring garments are neither too tight nor too loose․ They directly impact both aesthetics and comfort, making precise data essential for successful sewing․ Small errors can lead to wasted fabric and time, while accurate measurements enable proper pattern selection and garment construction․ This foundation ensures professional-looking results, customization, and personalization, making it a critical step for sewists of all skill levels to achieve satisfying outcomes․
What a Body Measurement Chart Entails
A body measurement chart for sewing PDF includes detailed sections for recording essential measurements like height, neck, shoulders, bust, waist, hips, and additional metrics such as body rise and inside leg length․ It often features diagrams illustrating where to take each measurement, ensuring accuracy․ The chart is printable and customizable, allowing users to neatly fill in their measurements and track changes over time․ Some versions also include space for notes, enabling users to add personal preferences or specific project details, making it an organized and indispensable tool for achieving precise fits and professional-quality garments․

Why Body Measurement Charts Are Essential in Sewing
Body measurement charts ensure accurate fits, reduce fabric waste, and enable customization․ They provide precise data for patterns, saving time and enhancing garment quality, making them a must-have tool for sewists․
Ensuring Proper Fit and Comfort
Accurate body measurements are vital for garments that are neither too tight nor too loose, ensuring both comfort and aesthetics․ A body measurement chart for sewing PDF provides precise data for key areas like bust, waist, and hips, helping to select the right patterns and make necessary adjustments․ This ensures a flattering fit and professional results․ By recording measurements, sewists can track changes over time, maintaining comfort and accuracy in their projects․ Proper fit is foundational to successful and satisfying sewing outcomes․
Reducing Fabric Waste and Saving Time
Using a body measurement chart for sewing PDF minimizes fabric waste by ensuring accurate cuts and reducing the need for costly rework․ Precise measurements guide pattern selection and adjustments, avoiding guesswork that leads to wasted materials․ This streamlined process saves time, especially for beginners, by preventing errors and ensuring garments fit perfectly․ By eliminating unnecessary alterations, sewists can complete projects efficiently, making the chart an invaluable tool for both time and resource management in sewing․
Facilitating Customization and Personalization
A body measurement chart for sewing PDF allows for tailored fits, enabling customization to individual body shapes and preferences․ It helps create garments that align with personal style, ensuring comfort and flattery․ By recording specific measurements, sewists can adapt patterns to unique proportions, such as asymmetrical bodies or postural differences․ This tool empowers creators to craft one-of-a-kind pieces, blending original design ideas with the wearer’s personality, making it indispensable for personalized sewing projects and professional results․
Key Body Measurements for Sewing
Essential measurements include height, neck, shoulders, bust, waist, hips, and additional metrics like body rise and inside leg length, ensuring proper fit and design accuracy․
Height Measurements
Height measurements are fundamental for sewing, determining garment proportions and ensuring proper fit․ Stand barefoot with straight posture, measuring from the top of the head to the floor․ This metric guides sleeve lengths, pant hems, and overall balance․ Accurate height records are crucial for creating custom-fit patterns․ Height is often used with other measurements, like bust and waist, to achieve a balanced fit․ Use a flexible tape measure or wall-mounted ruler for precise results, ensuring garments align with the body’s natural proportions․
Neck and Shoulder Measurements
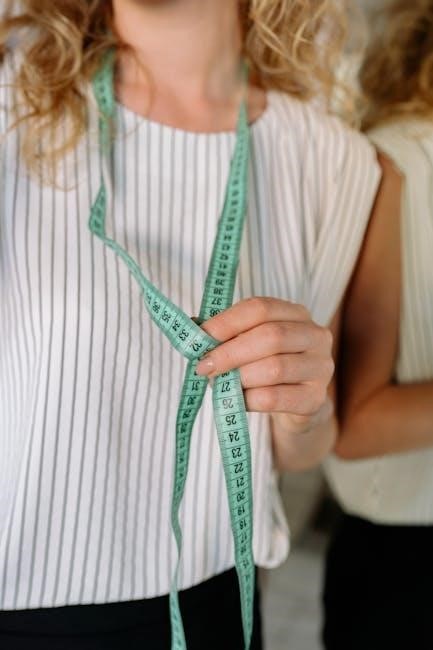
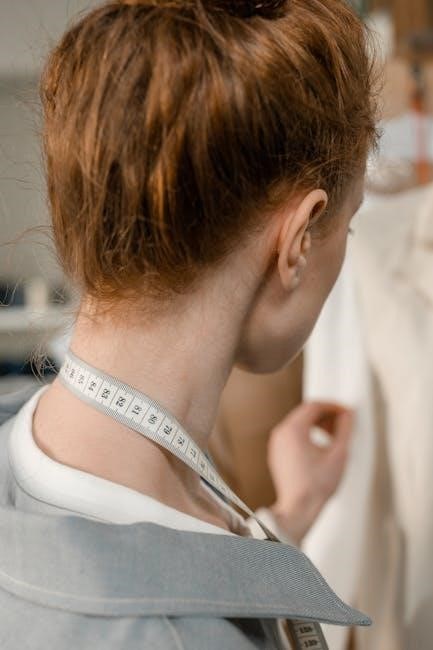
Neck and shoulder measurements are crucial for achieving a perfect fit in garments like shirts, jackets, and dresses․ To measure the neck, wrap a flexible tape measure around the base, keeping it level and not too tight․ For shoulders, measure the distance between the two shoulder points, ensuring the tape is straight and parallel to the floor․ These measurements help determine sleeve lengths, neckline depths, and overall garment balance․ Accurate neck and shoulder measurements ensure a seamless fit, especially for tailored pieces․ Use a mirror to maintain proper posture and alignment while measuring․ These details are essential for creating custom-fit patterns and professional-looking sewing projects․
Bust Measurements
Bust measurements are vital for ensuring a proper fit in garments like dresses, blouses, and bras․ The high bust is measured under the arms, above the bust line, while the full bust is measured at the fullest point․ These measurements help determine bra sizes, garment ease, and pattern sizing․ For accuracy, stand upright and avoid slouching․ If the high bust is larger, use it for pattern selection․ Record both measurements to achieve a comfortable and flattering fit in your sewing projects․
Waist and Hip Measurements
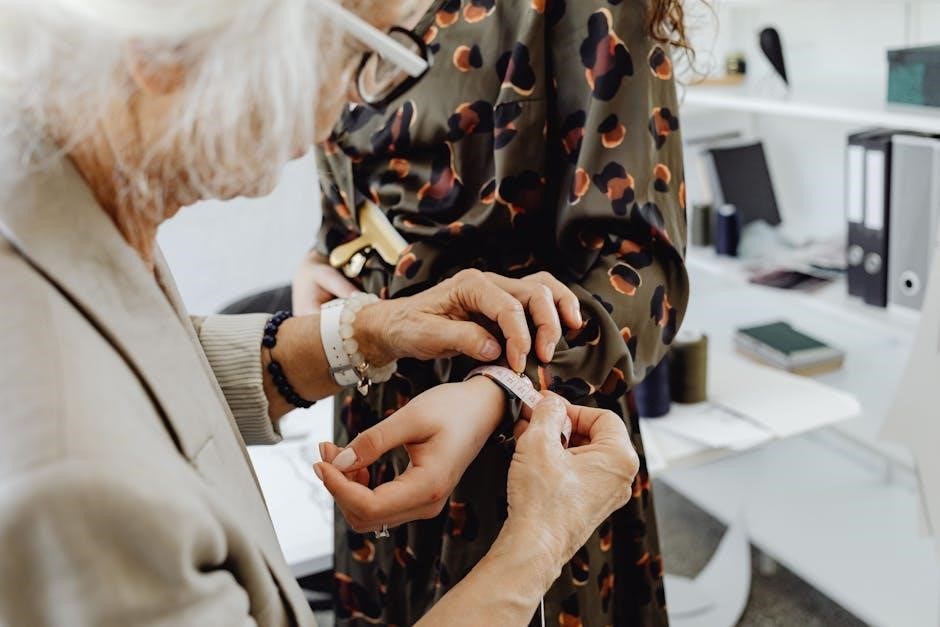
Waist and hip measurements are crucial for determining fit in skirts, pants, and dresses․ The waist is measured at the natural indentation or narrowest point of the torso, while the hips are measured around the widest area, typically 7-9 inches below the waistline․ Ensure the tape measure is level and not too tight․ Stand upright and avoid slouching for accuracy․ These measurements help in selecting the correct pattern sizes and ensuring a flattering fit․ Record both waist and hip measurements precisely for your sewing projects․
Additional Measurements (Body Rise, Inside Leg Length)
Additional measurements like body rise and inside leg length are vital for well-fitted garments, especially pants and skirts․ Body rise measures the distance from the waistline to the crotch, ensuring proper fit in the seat area․ Inside leg length is measured from the crotch to the ankle, determining pant and skirt lengths․ These measurements, along with others, help tailor garments to individual proportions․ Accurate recording ensures consistency and precision, aiding in pattern adjustments for unique body shapes and postural differences, ensuring a flawless fit every time․
How to Take Accurate Body Measurements
Use a flexible tape measure, keep it level, and measure in a relaxed posture․ Ensure the tape isn’t too tight or loose for precise results every time․
Tools Required for Measuring
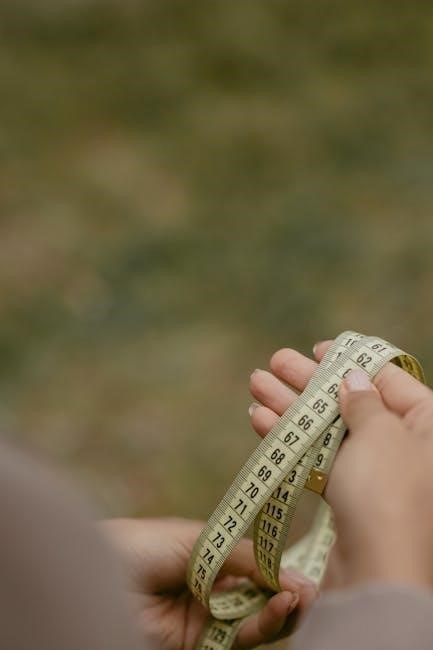
A flexible tape measure (60 inches long, marked in inches and centimeters) is essential for accuracy․ A mirror helps with hard-to-reach areas, while proper posture ensures precise results․ Use a pen and notebook or a printable PDF template to record measurements neatly․ Stand upright with feet shoulder-width apart, avoiding twisted or overly tight measurements․ These tools streamline the process, ensuring consistency and accuracy for sewing projects;
Step-by-Step Guide to Measuring
Start by measuring height from the floor to the top of the head․ Next, measure neck circumference at the base, keeping the tape level․ Shoulder width is measured between the shoulder tips․ For bust, measure under the arms at the nipple line for high bust and around the fullest part for full bust․ Waist is taken at the narrowest point, and hips at the widest area, 7-9 inches below the waistline․ Body rise is measured from waistline to crotch, and inside leg length from groin to ankle․ Use a mirror for accuracy and maintain proper posture throughout․
Best Practices for Consistency
For consistent results, always use a flexible tape measure and maintain proper posture․ Measure at the same time daily, as body dimensions can vary․ Wear form-fitting clothing and avoid tight or loose tape placement․ Use a mirror to monitor accuracy, especially for hard-to-reach areas․ Record measurements neatly and review for consistency․ Consider enlisting a helper for precise results․ Store measurements in a dedicated chart or PDF template to track changes over time and ensure accuracy in future sewing projects․
Tips for Achieving Precision in Measurements
Use a flexible tape measure, maintain proper posture, and avoid bulky clothing to ensure accurate and consistent results in your sewing projects for precise measurements․
Using a Flexible Tape Measure Correctly
A flexible tape measure is essential for accurate body measurements․ Ensure it is level and not too tight or twisted․ Measure in a relaxed posture, avoiding bulky clothing․ Use a mirror to monitor placement, especially for hard-to-reach areas․ Keep the tape parallel to the floor for shoulder and hip measurements․ For neck and waist, maintain a comfortable fit without constriction․ This method ensures precise results, crucial for garment fitting and sewing success․
Measuring in the Right Posture
Proper posture is crucial for accurate body measurements․ Stand upright with feet shoulder-width apart, shoulders relaxed, and head held high․ Avoid slouching or leaning, as this can distort results․ For neck measurements, keep the tape measure level at the base of the neck․ When measuring the bust, waist, and hips, maintain a natural stance without arching the back․ Good posture ensures measurements reflect your true body proportions, leading to better-fitting garments and successful sewing projects․
Recording Measurements Accurately
Accurate recording of measurements is vital for successful sewing projects․ Use a notebook or a printable body measurement chart for sewing PDF to document each measurement clearly․ Ensure consistency by measuring at the same time daily, as body dimensions can vary․ Double-check each measurement, especially for critical areas like the bust and waist․ Record both inches and centimeters for versatility․ Proper documentation prevents errors, ensuring garments fit well and meet your design goals․ This step is foundational for achieving professional results․
Common Mistakes to Avoid When Measuring
Common errors include poor posture, using a twisted or loose tape measure, and measuring over bulky clothing․ These mistakes can lead to inaccurate results and poor fits․
Incorrect Posture During Measurement
Incorrect posture, such as slouching or leaning, can distort measurements, leading to poor garment fit․ Stand upright with feet shoulder-width apart and shoulders relaxed․ Use a mirror to monitor alignment․ Ensure the tape measure remains level and parallel to the floor․ Proper posture ensures accurate results, especially for neck, shoulder, and bust measurements․ Neglecting this step can result in ill-fitting garments, emphasizing the importance of maintaining a neutral stance during the measuring process․
Using the Wrong Tools or Techniques
Using the wrong tools, such as a rigid tape measure or improper techniques, can lead to distorted measurements․ A flexible tape measure is essential for accuracy, as it conforms to body curves․ Incorrect techniques, like pulling the tape too tight or not keeping it level, can misrepresent body proportions․ This often results in garments that are too tight or too loose, emphasizing the importance of using the right tools and methods for precise results in sewing projects․
Measuring Over Bulky Clothing
Measuring over bulky clothing can lead to inaccurate results, as the extra layers add unwanted thickness․ This causes measurements to be larger than actual body size, resulting in garments that are too loose or ill-fitting․ To ensure precision, wear form-fitting clothing that allows the tape measure to lie flat against the skin․ This simple step helps achieve accurate measurements and guarantees a better fit for sewing projects, avoiding the need for costly alterations or wasted fabric․
Benefits of Using a Body Measurement Chart PDF
A body measurement chart PDF offers convenience, portability, and customizable formats․ It simplifies tracking changes over time, ensuring accurate fits and professional results for sewing projects of all types․
Convenience and Portability
A body measurement chart PDF is a highly portable tool, easily accessible on devices like smartphones, tablets, or laptops․ Its digital format allows seamless sharing and storage, making it ideal for on-the-go use․ The ability to print the chart ensures you can take it to your sewing space or share it with collaborators effortlessly․ This convenience makes it a practical resource for sewists, whether working on personal projects or client orders․
Additionally, the PDF format eliminates the need for physical storage, reducing clutter and saving space․ Its accessibility across devices ensures you can reference it anytime, anywhere, streamlining your sewing process and enhancing productivity․
Customizable and Printable Formats
A body measurement chart PDF offers customizable templates, allowing users to input personal measurements and preferences․ This adaptability makes it suitable for various sewing projects and body types․ The printable format ensures easy access to physical copies, which can be used in sewing spaces or shared with clients․ Customization options enable users to tailor the chart to their specific needs, while the ability to print it provides a practical, hands-on tool for accurate garment creation․
Digital customization also allows for easy updates and adjustments, ensuring the chart remains relevant as body measurements change over time․ This flexibility enhances its utility for both personal and professional sewing endeavors․
Ease of Tracking Changes Over Time
A body measurement chart PDF simplifies tracking changes in measurements over time, allowing users to monitor progress and adjustments․ Regular updates ensure garments fit perfectly as body dimensions evolve․ The chart provides space for multiple entries, making it easy to compare past and present measurements․ This feature is particularly useful for long-term sewing projects or for individuals experiencing changes due to health, fitness, or other factors․ Tracking changes ensures consistent fit and comfort in all creations․
By maintaining a record of measurements, sewists can identify trends and make necessary adjustments to patterns and designs․ This organized approach fosters precision and adaptability, ensuring sewing projects remain tailored to the individual’s current proportions․ The ability to update and track measurements over time enhances the chart’s practicality and value for both personal and professional use․
How to Use a Body Measurement Chart for Sewing Projects
A body measurement chart for sewing PDF guides you in matching measurements to patterns, adjusting designs, and ensuring garments fit perfectly․ It streamlines the sewing process, saving time and enhancing results․
Matching Measurements to Sewing Patterns
Using a body measurement chart for sewing PDF, align your measurements with sewing patterns to ensure a perfect fit․ Record key metrics like bust, waist, and hips, then compare them to pattern requirements․ This step ensures garments are tailored to your unique proportions, avoiding sizing mismatches․ The chart simplifies the process, making it easier to select the right patterns and adjust them as needed․ Accurate alignment ensures comfort, proper fit, and professional-looking results for both personal and client sewing projects․
Adjusting Patterns Based on Measurements
A body measurement chart for sewing PDF allows precise pattern adjustments by comparing your measurements to standard sizes․ This ensures a tailored fit, addressing unique proportions like longer sleeves or a narrower waist․ By noting discrepancies, you can alter patterns to match your body, ensuring comfort and a professional finish․ The chart guides adjustments, helping you achieve a perfect fit and avoid costly mistakes, making it indispensable for custom sewing projects․
Ensuring Fit and Comfort in Garments
A body measurement chart for sewing PDF ensures garments fit perfectly by providing precise data for key areas like bust, waist, and hips․ Accurate measurements prevent clothes from being too tight or loose, enhancing both aesthetics and comfort․ By using the chart, sewists can avoid guesswork, reducing fabric waste and time spent on alterations․ It also aids in understanding ease and fit preferences, ensuring professional-looking results․ Regular updates to the chart help track body changes, maintaining comfort and accuracy over time․
A body measurement chart for sewing PDF is indispensable for achieving accurate fits and comfort in garments, ensuring personalized results and sewing success for all skill levels․
Final Thoughts on the Importance of Body Measurement Charts
Body measurement charts are indispensable for achieving precise fits and comfort in sewing․ They streamline the process, reduce fabric waste, and enable customization, making them a vital tool for sewists․ By ensuring accuracy and personalization, these charts empower creators to craft garments that flatter diverse body types and preferences․ Their versatility and convenience make them a cornerstone for successful sewing projects, fostering confidence and creativity for sewists of all skill levels․
Encouragement to Start Using the Chart for Sewing Success
Embrace the simplicity and efficiency of a body measurement chart for sewing PDF to elevate your sewing projects․ This tool offers a clear path to achieving professional results, ensuring garments fit perfectly and reflect your personal style․ By recording and tracking measurements, you’ll save time, reduce errors, and gain confidence in your creations․ Start using the chart today and unlock the full potential of your sewing skills, creating garments that are both flattering and comfortable for years to come․