The Ninja Blender Recipe Book is a comprehensive guide offering 170+ recipes for smoothies, soups, juices, and more, perfect for beginners and experienced cooks alike.
1.1 What is the Ninja Blender?
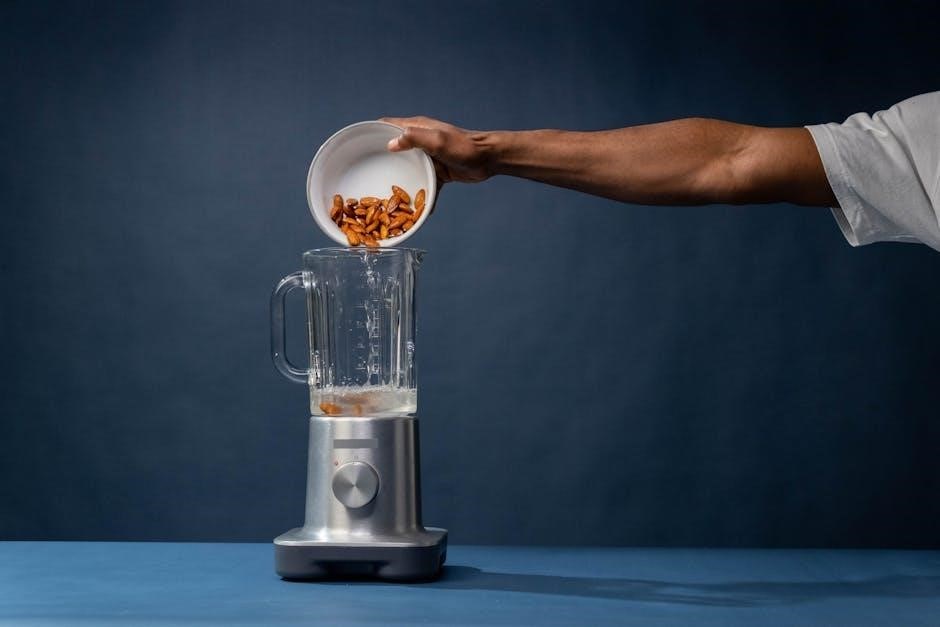
The Ninja Blender is a versatile kitchen appliance designed for high-performance blending, chopping, and pureeing. Known for its powerful motors and advanced features like an 800W heating element, it stands out for its ability to cook and blend simultaneously. Popular among culinary enthusiasts, it offers a unique combination of functionality and innovation, making it a favorite for creating smoothies, soups, and more. Its durability and user-friendly design have disrupted the blender market, appealing to both home cooks and professionals.
1.2 Why Choose the Ninja Blender?
The Ninja Blender is a top choice for its powerful performance, versatility, and innovative features. With its robust motor and advanced settings, it excels at blending, chopping, and pureeing. The unique 800W heating element allows for cooking directly in the blender, adding convenience. Its popularity stems from its durability, ease of use, and ability to handle tough ingredients. Whether for smoothies, soups, or desserts, the Ninja Blender offers unmatched versatility, making it a must-have for home cooks and professionals seeking high-quality results with minimal effort.
1.3 Overview of the Recipe Book
The Ninja Blender Recipe Book is a detailed guide packed with over 170 recipes, catering to diverse tastes and dietary needs. From smoothies and juices to soups, desserts, and baby food, it offers a wide variety of options. Designed for both beginners and experienced cooks, the book provides step-by-step instructions and tips to maximize the blender’s potential. Organized into clear categories, it ensures easy navigation, making it a practical and inspiring resource for anyone looking to explore the full capabilities of their Ninja Blender.
Benefits of Using the Ninja Blender
The Ninja Blender offers unmatched versatility, ease of use, and time-saving features, retaining nutrients while being cost-effective. Its 800W heating element enhances cooking capabilities, making it ideal for various recipes.
2.1 Versatility in Cooking
The Ninja Blender excels in versatility, allowing users to create a wide variety of dishes beyond smoothies. From soups and sauces to desserts and baby food, it handles all with ease. The 800W heating element enables cooking directly in the blender, making it perfect for hot recipes like soups. Its ability to process frozen ingredients ensures thick, spoonable results for desserts and snacks. This multi-functional appliance is ideal for home cooks seeking to explore diverse culinary possibilities, catering to various dietary needs and preferences effortlessly.
- Smoothies and juices
- Soups and sauces
- Desserts and snacks
- Baby food and more
2.2 Ease of Use

The Ninja Blender is designed for simplicity, making it accessible to both beginners and experienced cooks. Its intuitive interface and pre-programmed settings streamline the cooking process, while the 800W heating element allows for seamless transitions between blending and cooking. The blender’s ability to handle frozen ingredients with minimal liquid ensures effortless preparation of smoothies, soups, and frozen treats. This user-friendly design empowers home cooks to explore a variety of recipes without complexity, making it a practical addition to any kitchen.
- Intuitive controls for easy operation
- Pre-programmed settings for convenience
- Effortless handling of frozen ingredients
- Perfect for smoothies, soups, and more
2.3 Time-Saving Features
The Ninja Blender excels at saving time in the kitchen with its powerful 800W heating element, enabling one-step cooking and blending. This feature allows users to prepare soups, sauces, and frozen treats efficiently without transferring ingredients. The blender’s ability to handle frozen foods with minimal liquid ensures quick and smooth results, reducing meal prep time significantly. These time-saving capabilities make it an essential tool for busy home cooks seeking convenience without compromising on quality.
- 800W heating element for one-step cooking
- Efficient handling of frozen ingredients
- Reduces meal preparation and cleanup time
- Perfect for busy home cooks
2.4 Nutrient Retention
The Ninja Blender is designed to preserve nutrients during blending, ensuring healthy and wholesome meals. Its high-speed motor and precise controls minimize heat generation, which can destroy vitamins and minerals. This makes it ideal for preparing nutrient-rich smoothies, soups, and baby food. The blender’s ability to handle whole foods without over-processing helps retain fiber and essential nutrients, making it a great choice for health-conscious individuals seeking to maximize the nutritional value of their dishes.
- Minimizes heat generation to preserve nutrients
- Handles whole foods for maximum nutrient retention
- Perfect for health-conscious cooking
- Ensures wholesome and nutritious meals
2.5 Cost-Effective Solution
The Ninja Blender offers a cost-effective solution for home cooking, allowing users to prepare a variety of meals without needing multiple appliances. Its versatility reduces the need for separate gadgets, saving space and money. With the recipe book, users can create affordable, nutritious dishes at home, cutting down on restaurant bills. The blender’s durability and long lifespan further enhance its value, making it a practical investment for everyday cooking needs.
- Reduces need for multiple kitchen appliances
- Encourages home cooking to save money
- Durable design for long-term use
- Perfect for budget-friendly meal prep

Exploring the Ninja Blender Recipe Book
The Ninja Blender Recipe Book offers 170+ diverse recipes, from smoothies to desserts, showcasing the blender’s versatility and ease of use for all skill levels.
3.1 Smoothie Recipes
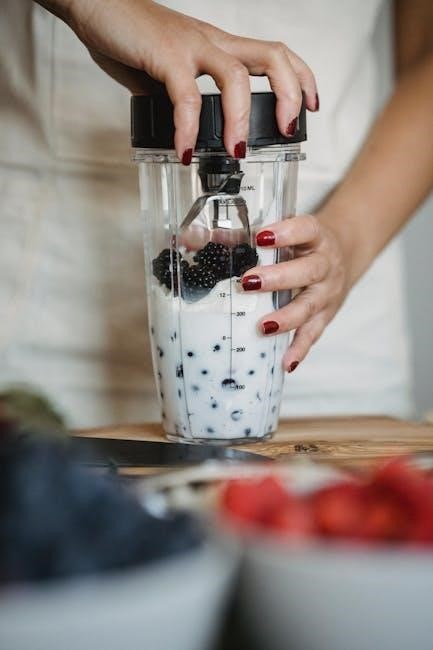
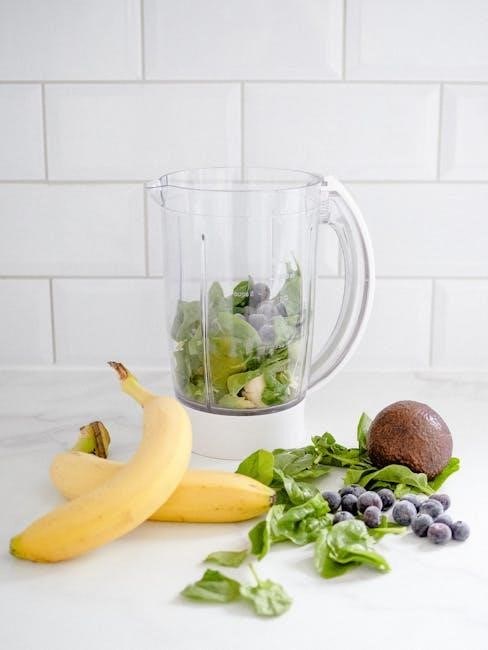
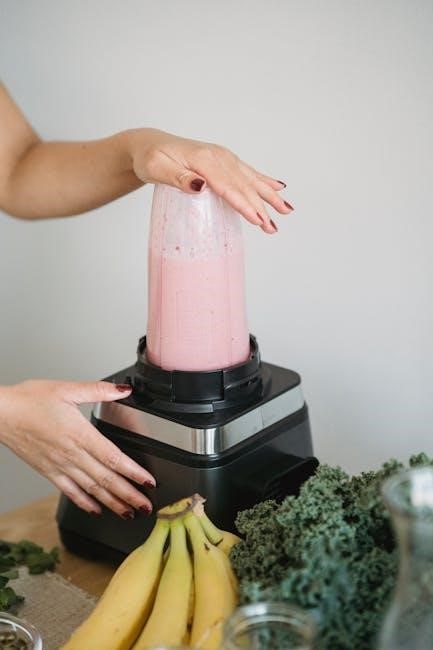
The Ninja Blender Recipe Book features an extensive collection of smoothie recipes, perfect for health-conscious individuals and busy households. From classic fruit blends to nutrient-packed green smoothies, the book offers something for every taste. With easy-to-follow instructions, users can create delicious and refreshing drinks in minutes. The recipes emphasize the use of fresh ingredients and minimal prep time, making smoothies a convenient option for breakfast or snacks. Whether you prefer tropical flavors or protein-packed options, the Ninja Blender makes crafting the perfect smoothie effortless and enjoyable.
Customization is key, allowing users to tailor recipes to their dietary needs and preferences. The book also includes tips for achieving the ideal texture and consistency, ensuring smoothies are as nutritious as they are tasty. With the Ninja Blender’s powerful motor, even the toughest ingredients are blended to perfection, unlocking maximum flavor and nutrition. This section is a must-explore for anyone looking to elevate their smoothie game and incorporate more wholesome meals into their daily routine.
3.2 Soup and Sauce Recipes
The Ninja Blender Recipe Book includes a variety of soup and sauce recipes that leverage the blender’s powerful motor and heating element for effortless cooking. From creamy soups to flavorful sauces, these recipes showcase the blender’s versatility. The 800W heating element allows for cooking directly in the blender, simplifying the process of creating hearty soups and marinara sauces. With step-by-step instructions, users can achieve restaurant-quality results at home. The book also offers tips for customizing recipes to suit different tastes and dietary preferences, making it a valuable resource for home cooks.
Whether you’re preparing a comforting tomato soup or a vibrant pesto sauce, the Ninja Blender’s advanced features ensure smooth textures and rich flavors. The recipes are designed to save time while delivering nutritious and delicious meals. This section is perfect for those looking to expand their culinary skills and explore the full potential of their Ninja Blender in the kitchen.
3.3 Dessert Recipes
The Ninja Blender Recipe Book offers a wide range of dessert recipes, from creamy sorbets to rich chocolate mousse. With the blender’s powerful motor and precision controls, creating indulgent treats is effortless. Recipes like strawberry sorbet and banana “ice cream” showcase the blender’s ability to transform frozen fruits into smooth, velvety textures. The book also includes innovative ideas for baked goods, such as blending wet ingredients to perfection for cakes and muffins. These dessert recipes are perfect for satisfying sweet cravings while exploring the blender’s full culinary potential.
Whether you’re making a quick fruit-based dessert or a decadent chocolate treat, the Ninja Blender simplifies the process, ensuring delicious results every time. The recipes are designed to be both creative and easy to follow, making them ideal for home cooks of all skill levels. With the Ninja Blender, dessert preparation becomes a breeze, allowing you to enjoy homemade treats without the hassle.
3.4 Baby Food Recipes
The Ninja Blender Recipe Book includes a dedicated section for baby food recipes, offering healthy and nutritious meal options for infants. Parents can easily prepare homemade baby food using fresh ingredients like fruits, vegetables, and proteins. The blender’s powerful motor ensures smooth purees, while its versatility allows for customizing textures as babies grow. Recipes range from single-ingredient purees to mixed meals, promoting variety and nutrient-rich diets. This section is a valuable resource for parents seeking convenient, wholesome, and safe food solutions for their little ones.
With the Ninja Blender, making baby food is quick and effortless, ensuring freshness and quality. The recipes are designed to support developmental stages, from first foods to more complex meals. This makes the Ninja Blender an essential tool for modern parents committed to their baby’s health and well-being.
3.5 Snack and Appetizer Recipes
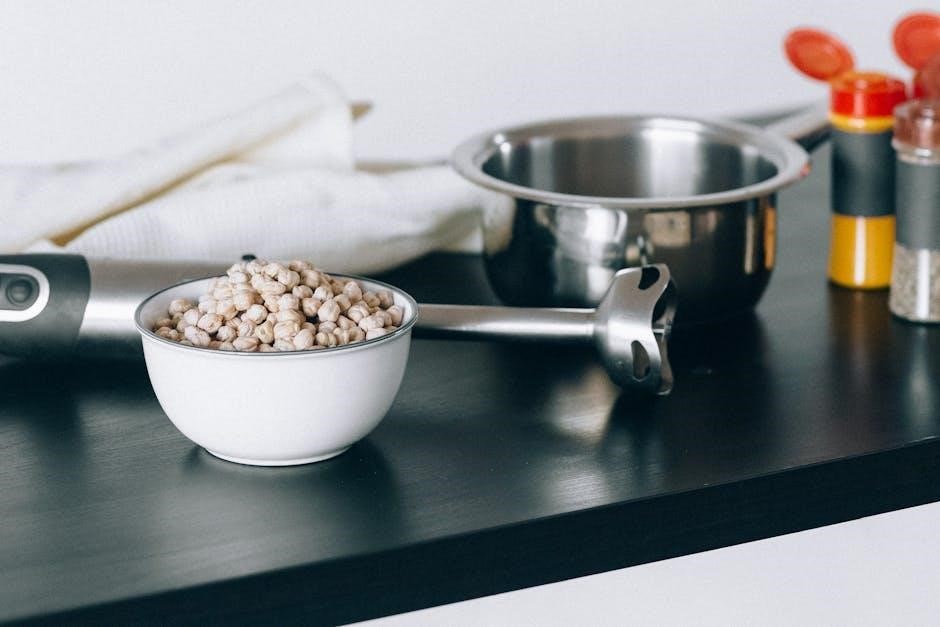
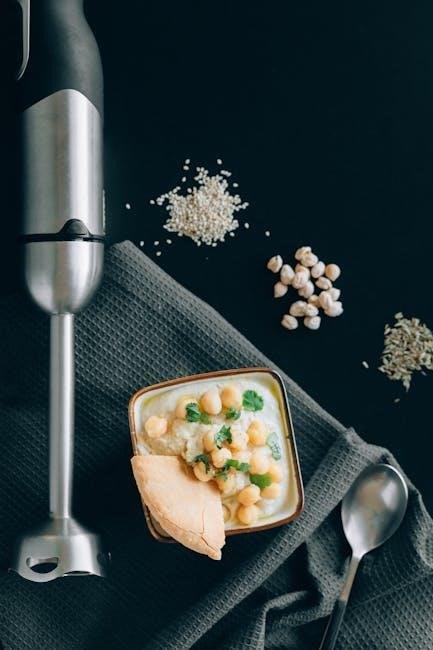
The Ninja Blender Recipe Book offers a variety of snack and appetizer recipes perfect for quick bites or entertaining guests. From creamy dips like hummus to fresh salsas, these recipes are easy to prepare and packed with flavor. The blender’s versatility allows for smooth textures and precise control, ensuring delicious results every time. Whether you’re making healthy snacks for the family or preparing for a party, these recipes are designed to impress and satisfy cravings.
With options ranging from classic guacamole to innovative fruit-based snacks, the Ninja Blender makes it easy to create tasty and nutritious treats. These recipes are ideal for busy lifestyles, offering convenience without compromising on taste or quality.

How to Use the Ninja Blender Effectively
Mastering the Ninja Blender involves exploring its advanced features, such as the 800W heating element, to unlock its full potential for cooking and blending tasks efficiently.
4.1 Getting Started with the Blender
Begin by familiarizing yourself with the Ninja Blender’s components and settings. Assemble the blender according to the manual, ensuring all parts are securely locked. Start with simple recipes like smoothies or soups to understand the blade speed and pulse functions. The recipe book provides step-by-step guides for beginners, helping you master basic techniques. Experiment with ingredients gradually, adjusting settings as needed. This hands-on approach ensures a smooth transition into more complex recipes, unlocking the blender’s full potential for creative cooking.
4.2 Advanced Features and Settings
The Ninja Blender boasts advanced features like an 800W heating element, enabling cooking beyond blending. Explore variable speed controls and preset functions for precise results. The heating element allows for soups and sauces to be cooked directly in the blender, while the nutrient extraction feature ensures maximum flavor and nutrition. Experiment with frozen ingredients effortlessly, thanks to its powerful motor. These settings expand your culinary possibilities, making the Ninja Blender a versatile tool for both simple and complex recipes, as detailed in the recipe book.
4.3 Safety Precautions
Always handle the Ninja Blender with care to ensure safe operation. Avoid touching the sharp blades and keep children away while blending. Never blend hot liquids, as they may cause splashing. Ensure the lid is securely locked before starting the blender. Unplug the device when not in use or during cleaning. Regularly inspect the blades and components for wear. Follow the user manual guidelines for proper usage and maintenance to prevent accidents and extend the blender’s lifespan. Safety first ensures enjoyable and hazard-free cooking experiences.
Accessing the Ninja Blender Recipe Book in PDF
The Ninja Blender Recipe Book in PDF is easily accessible online, available for free download on official websites and popular recipe platforms, offering convenient access to 170+ recipes.
5.1 Where to Find the PDF
The Ninja Blender Recipe Book in PDF can be found on the official Ninja website, Amazon, and other trusted recipe platforms. It’s also available on forums and food blogs. Users can download it for free or purchase it from online marketplaces like eBay or Etsy. Additionally, some cooking communities and social media groups share the PDF. Always ensure to download from reputable sources to avoid scams or outdated versions. This convenient access allows users to explore 170+ recipes effortlessly from home.
5.2 Downloading and Saving the PDF
Downloading the Ninja Blender Recipe Book PDF is straightforward. Visit the official Ninja website or trusted platforms like Amazon or Etsy. Click the download link, and save the file to your device. For easy access, create a dedicated digital folder or save it to cloud storage. Ensure your device has enough storage space before downloading. Once saved, you can print or view it on any device. Always download from reputable sources to avoid malware or outdated versions. This ensures you have the latest recipes and guides at your fingertips.
5.3 Printing the Recipe Book
Printing the Ninja Blender Recipe Book PDF is simple. Ensure your printer is set to high-quality mode for clear text and images. Use standard letter-sized paper for optimal results. Consider binding the pages using a spiral or three-ring binder for easy access. Adjust printer settings to fit your paper size and orientation. Double-check margins and layout before printing to avoid cutoff text. For durability, print on high-quality paper or laminate the pages. This ensures your recipe book remains intact and easy to use in the kitchen.

Tips and Tricks for Maximizing the Recipe Book
Experiment with new ingredients, customize recipes to suit your taste, and explore advanced blender features for better results. Troubleshoot common issues to enhance your cooking experience.
6.1 Customizing Recipes
Customizing recipes in the Ninja Blender Recipe Book allows you to tailor dishes to your preferences. Substitute ingredients, adjust quantities, or add personal touches like spices or herbs. This flexibility ensures meals align with dietary needs and flavor preferences. Experimenting with new combinations can also enhance creativity in the kitchen, making cooking more enjoyable and personalized. By tweaking recipes, you can unlock endless possibilities while maintaining the book’s core guidance for delicious and nutritious outcomes.
6.2 Experimenting with New Ingredients
Experimenting with new ingredients in your Ninja Blender can elevate your recipes and introduce exciting flavors. Try incorporating exotic fruits, unique spices, or alternative bases like nut milks or yogurt. The blender’s versatility allows you to test unconventional combinations, such as adding protein powder for smoothies or blending cooked grains for creamy soups. This creative freedom encourages culinary exploration and helps you discover new favorites while keeping meals fresh and engaging. It’s a great way to expand your palate and make the most of your blender’s capabilities.
6.3 Troubleshooting Common Issues
Troubleshooting common issues with your Ninja Blender ensures optimal performance. If the blades aren’t spinning, check for proper assembly and alignment. Overheating can occur with thick mixtures; allow the motor to cool before resuming. For inconsistent textures, adjust ingredient ratios or blending times. Always refer to the user manual for guidance. Regular cleaning and maintenance can prevent clogs and extend the blender’s lifespan. If problems persist, consult customer support or the recipe book’s troubleshooting section for tailored solutions.
Nutritional Information and Health Benefits
The Ninja Blender enhances nutrient retention, offering recipes rich in vitamins and minerals. It supports healthy eating by blending whole foods into nutritious, balanced meals effortlessly.
7.1 Understanding Nutrient-Rich Recipes
The Ninja Blender excels at creating nutrient-rich recipes by retaining vitamins and minerals during blending. Its powerful motor ensures smooth, consistent textures, preserving natural flavors and nutrients. With features like the 800W heating element, it enhances cooking versatility while maintaining nutritional integrity. Recipes range from vibrant smoothies to hearty soups, all designed to maximize health benefits. The blender’s ability to handle frozen foods and whole ingredients ensures that every dish is packed with essential nutrients, making it a valuable tool for healthy, balanced meals.
7.2 Health Benefits of Blender Cooking
Blender cooking with the Ninja Blender offers numerous health benefits by preserving essential nutrients during blending. The powerful motor ensures smooth textures without losing vitamins, making it ideal for nutrient-rich recipes. The 800W heating element allows for gentle cooking, maintaining the integrity of ingredients. This versatility enables the creation of healthy dishes like smoothies, soups, and baby food, promoting better digestion and overall well-being. The Ninja Blender is a valuable tool for those seeking to incorporate more wholesome, nutrient-dense meals into their diet.
Customizing Recipes for Dietary Needs
The Ninja Blender enables easy customization for vegan, vegetarian, gluten-free, and low-carb diets. Its 800W heating element and versatile settings support a wide range of dietary preferences seamlessly.
8.1 Vegan and Vegetarian Options
The Ninja Blender excels in preparing vegan and vegetarian dishes, offering a variety of plant-based recipes. From vibrant smoothies to hearty soups, the blender’s powerful motor ensures smooth textures. Its 800W heating element allows for cooking ingredients directly, making it ideal for vegan soups and sauces. With customizable settings, users can easily adapt recipes to suit their dietary preferences, ensuring nutrient-rich and flavorful meals. This versatility makes the Ninja Blender a perfect tool for those embracing plant-based lifestyles.
8;2 Gluten-Free and Low-Carb Recipes
The Ninja Blender simplifies gluten-free and low-carb cooking with innovative recipes. From smoothies to soups, it effortlessly processes ingredients like cauliflower, zucchini, and nuts for grain-free alternatives. The blender’s precision temperature control ensures optimal texture, while its powerful motor handles tough ingredients seamlessly. With creative ideas for gluten-free sauces and low-carb desserts, the Ninja Blender empowers users to craft delicious, diet-friendly meals without compromising on flavor or nutrition. It’s a game-changer for those adhering to gluten-free or low-carb lifestyles.
User Reviews and Testimonials
Users praise the Ninja Blender for its ease of use and versatility, with many highlighting its ability to transform ingredients effortlessly. The recipe book has received glowing reviews for its diverse and creative ideas, making it a favorite among both novices and experienced cooks. Customers appreciate the simplicity and nutritional benefits of the recipes, calling it a must-have for healthy, delicious meal prep.
9.1 Success Stories from Users
Users share inspiring stories of transforming their cooking routines with the Ninja Blender. Many highlight its ease of use and versatility, creating delicious smoothies, soups, and even baby food. One user praised the recipe book for helping them adopt a healthier lifestyle, while another credited it with making meal prep effortless. The ability to customize recipes has empowered home cooks to experiment and achieve professional-grade results, fostering a sense of culinary confidence and creativity in the kitchen.
9.2 Feedback on the Recipe Book
Users have praised the Ninja Blender Recipe Book for its diverse and easy-to-follow recipes, emphasizing its versatility and suitability for various dietary needs. Many appreciate the step-by-step instructions and the creative ideas for smoothies, soups, and desserts. Some users noted that the book has helped them explore new flavors and ingredients, making cooking more enjoyable. However, a few suggested adding more advanced recipes and better organization of sections for easier navigation. Overall, the book is highly recommended for both beginners and experienced cooks.
The Ninja Blender Recipe Book is a versatile and user-friendly guide, offering a wide range of delicious and nutritious recipes for all skill levels and preferences.
10.1 Summary of Key Points
The Ninja Blender Recipe Book offers a diverse collection of 170+ recipes, catering to various dietary needs and preferences. It emphasizes versatility, ease of use, and time-saving features, making it ideal for both beginners and experienced cooks. The book provides creative ideas for smoothies, soups, desserts, and more, while focusing on nutrient retention and cost-effective meal solutions. With customizable options and health-conscious approaches, it serves as a valuable resource for anyone looking to enhance their culinary skills and embrace a balanced lifestyle.
10.2 Encouragement to Start Cooking
Embark on a culinary journey with the Ninja Blender Recipe Book! Whether you’re a novice or an experienced cook, this guide empowers you to create delicious, healthy meals effortlessly. With 170+ recipes at your fingertips, explore smoothies, soups, desserts, and more. The Ninja Blender’s versatility and ease of use make cooking enjoyable and efficient. Dive in, experiment with new flavors, and discover how simple it is to prepare nutritious, mouthwatering dishes for yourself and your loved ones. Start cooking today and unlock a world of culinary possibilities!
Additional Resources and Support
The Ninja Blender community offers extensive support through its official website, forums, and groups, providing users with additional recipes, troubleshooting tips, and expert advice for optimal use.
11.1 Official Ninja Blender Website
The official Ninja Blender website is a treasure trove of resources, offering exclusive recipes, detailed guides, and troubleshooting tips. It provides direct access to the Ninja Blender Recipe Book in PDF format, ensuring users can easily download and explore a wide variety of dishes. The site also features tutorials, warranty information, and customer support options, making it an essential destination for anyone looking to maximize their blender’s potential and enhance their cooking experience.
11.2 Community Forums and Groups
Joining community forums and groups dedicated to the Ninja Blender is a great way to connect with fellow users, share recipes, and gain insights. These platforms often feature discussions on optimizing the Ninja Blender Recipe Book, troubleshooting tips, and creative ideas for customizing dishes. Many groups also share PDF resources, making it easier to access and print recipes. Engaging with these communities can enhance your cooking experience and inspire new culinary creations with your Ninja Blender.
Maintenance and Care Tips
Regularly clean the Ninja Blender with warm water and mild detergent to maintain performance. Dry thoroughly after washing to prevent rust and ensure longevity.
12.1 Cleaning the Blender
Regular cleaning is essential for maintaining the Ninja Blender’s performance. Rinse the blender jar and blades with warm water after each use. Use mild detergent and a soft sponge to avoid scratching the surfaces. Avoid using abrasive cleaners or bleach, as they may damage the finish. For tough residue, soak the parts in warm soapy water for 10-15 minutes before scrubbing. Dry all components thoroughly to prevent rust and bacterial growth. Regular cleaning ensures optimal functionality and longevity of your Ninja Blender.
12.2 Storing the Blender and Accessories
Proper storage ensures the longevity of your Ninja Blender and accessories. After cleaning, dry all parts thoroughly to prevent moisture buildup. Store the blender in a cool, dry place, away from direct sunlight and heat sources. Accessories like blades and lids should be kept in a separate, organized container to avoid damage. Regularly check for dust accumulation and ensure all components are secure. Refer to the user manual for specific storage recommendations to maintain the blender’s performance and extend its lifespan.