
Strategic design placement is crucial for creating visually stunning and professional custom tees. Factors like garment size, fabric type, and printing methods influence placement decisions. This guide provides expert tips and best practices to help you master design placement for maximum impact.
Key Considerations for Design Placement
Garment size, fabric type, and printing methods significantly impact design placement. Larger shirts require proportional designs, while fabric types like cotton or polyester affect print durability. Printing techniques also influence placement accuracy and visual appeal, ensuring designs look sharp and professional.
2.1 Garment Size and Style
Garment size and style play a pivotal role in determining optimal design placement. Different t-shirt sizes require proportional adjustments to ensure designs remain balanced and visually appealing. For instance, smaller shirts benefit from smaller, centered designs, while larger shirts can accommodate bigger prints without overwhelming the wearer. Crew necks and v-necks have distinct considerations; v-necks may require slight adjustments to avoid design interference with the neckline. Sleeve length also influences placement, with long sleeves offering additional space for sleeve designs or repeating patterns. Tank tops, due to their minimalistic design, are best suited for small, central logos or left chest placements. Understanding how garment size and style interact with design placement ensures a polished, professional look tailored to each shirt’s unique features. This balance is essential for creating cohesive designs that enhance both aesthetics and functionality.
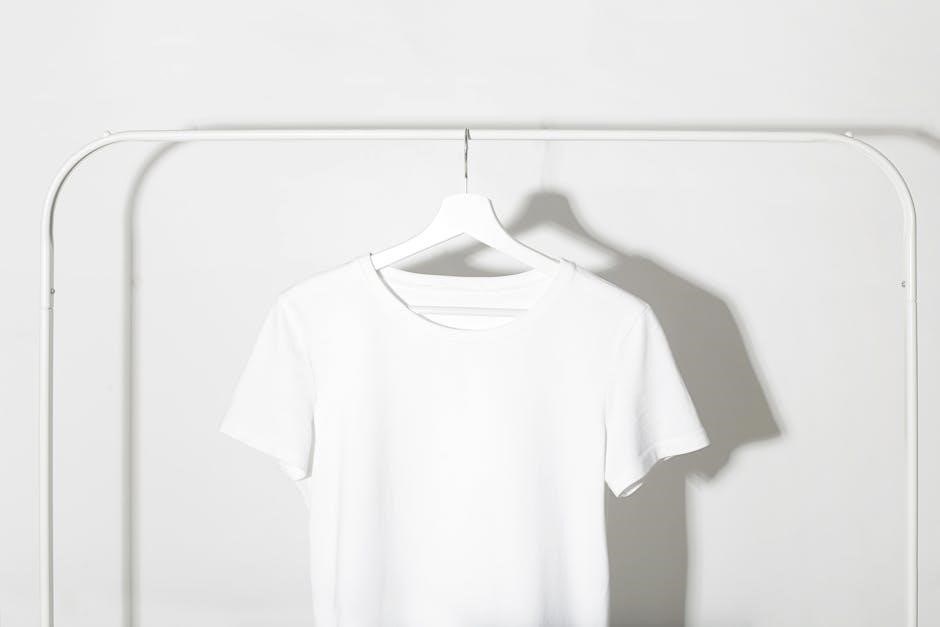
2.2 Fabric Types
Fabric types significantly influence design placement and printing outcomes. Cotton, a popular choice, is breathable and durable, making it ideal for most printing methods. Polyester, known for its smooth surface, is suitable for vibrant colors but may require adjustments for heat press techniques. Blends, combining cotton and polyester, offer a balance of comfort and durability, ensuring designs remain crisp. Tri-blend fabrics, with their soft, vintage feel, are best for subtle designs that complement the texture. Bamboo fabric, eco-friendly and lightweight, works well for smaller, delicate designs. Each fabric type interacts differently with printing methods like screen printing, DTG, or sublimation, affecting ink absorption and design visibility. Understanding fabric characteristics ensures optimal design placement, as certain materials may stretch or shrink, altering the print’s appearance. For instance, loose-weave fabrics may require larger designs to maintain clarity, while tight-weave fabrics support intricate details. Choosing the right fabric and tailoring designs to its properties enhances both aesthetics and functionality, ensuring a professional finish. This consideration is vital for creating custom tees that look great and withstand wear.
2.3 Printing Methods
Printing methods play a crucial role in determining design placement and final results. Screen printing, a traditional technique, is ideal for large, bold designs and works well on cotton fabrics. Direct-to-Garment (DTG) printing is best for intricate details and vibrant colors, especially on smaller designs. Sublimation printing excels on synthetic fabrics, creating vibrant, long-lasting designs. Embroidery is perfect for small, intricate logos, often used for left chest placements. Heat transfer vinyl (HTV) is versatile and works on various fabrics, making it great for custom names or numbers. Each method has specific requirements for design resolution, color accuracy, and placement. For example, DTG requires high-resolution images, while screen printing works best with solid colors. Understanding the strengths of each printing method ensures designs are placed optimally for the desired effect. Proper alignment and sizing are critical, as different methods may require adjustments to avoid distortion or misalignment. By choosing the right printing method for your design, you can achieve professional-looking results that enhance the overall appeal of your custom tees. This step is essential for creating visually stunning and durable designs.
Popular Design Placement Areas
The most sought-after design placements include center chest, left chest, full front, upper back, full back, and sleeves. Each area offers unique visibility and style, catering to different branding and aesthetic goals.
3.1 Center Chest Placement
The center chest placement is one of the most popular and effective positions for designs, logos, or slogans. It ensures high visibility and is ideal for bold statements, business branding, or intricate graphics. This placement works well for both minimalistic and symmetrical patterns.
To achieve the best results, place the design 2-4 inches below the neckline, ensuring it is centered and symmetrically aligned with the collar or shoulder seams. The optimal size for a center chest design typically ranges from 6 to 10 inches wide and 6 to 8 inches tall, depending on the complexity of the design and the size of the shirt.
This placement is particularly effective for creating a professional and polished look. It allows the design to stand out without overwhelming the garment, making it suitable for a wide range of styles, from casual wear to promotional tees. Additionally, center chest placement is versatile, working well on various shirt styles, including crew necks, V-necks, and even tank tops;

By carefully positioning the design in the center chest area, you can ensure it is easily noticeable and aesthetically pleasing, making it a great choice for both personal and business projects. This placement balances functionality and style, ensuring your message or artwork makes a lasting impression.
3.2 Left Chest Placement
The left chest placement is a classic and professional choice for logos or small, detailed designs. It offers a subtle yet noticeable way to showcase branding or artwork, making it ideal for businesses, events, or personal projects. This placement is particularly effective for creating a balanced and understated look.
To achieve the best results, position the design approximately 3-4 inches below the neckline and 2-3 inches from the armpit. This ensures the design is proportionally centered between the sleeve and collar, maintaining a clean and polished appearance. The left chest area is smaller, so it’s best suited for designs that are 2.5 to 5 inches in size.
This placement works well for layering with other garments and is versatile across various shirt styles, including crew necks, V-necks, and tank tops. It’s also a great option for intricate designs that might get lost in larger print areas. By placing your design on the left chest, you create a sophisticated and timeless look that appeals to a wide audience. This placement is perfect for those seeking a professional and elegant way to display their brand or artwork.
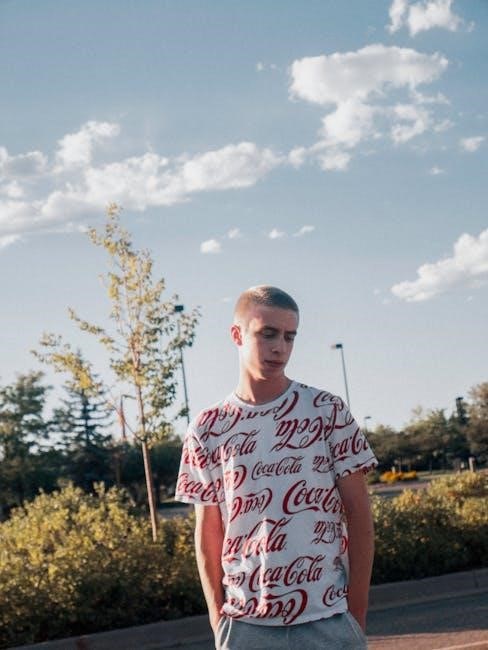
3.3 Full Front Placement
The full front placement is a bold and eye-catching option for large graphics, text, or intricate designs. It’s ideal for making a strong statement, as the entire chest area becomes the canvas for your artwork. This placement works well on most t-shirt sizes and styles, ensuring maximum visibility and impact.
To achieve the best results, start the design 3-4 inches below the collar and ensure it stays within the chest area, maintaining proportion. Avoid printing too low on the abdomen, as this can cause the design to stretch or fold awkwardly when worn. The full front placement is perfect for artistic graphics, promotional tees, or bold statements like festival posters or abstract art prints.
This placement is particularly effective for businesses or events looking to grab attention. However, it’s important to balance the design to avoid overwhelming the shirt. Ensure the artwork is centered and symmetrical, aligning with the collar or shoulder seams for a polished look. Full front placement is a great way to showcase creativity and make a lasting impression.
3.4 Upper Back Placement
The upper back placement is a versatile and popular choice for adding secondary branding elements, such as taglines, website URLs, or smaller logos. This area is ideal for complementing a front design without overwhelming the shirt.
For smaller designs, position them 1-2 inches below the collar, while larger designs can be placed 4-6 inches down. This placement is particularly effective for typography or secondary logos, as it adds depth to the overall design without competing with the front.
When using the upper back placement, ensure the design does not extend too far down, as it may become distorted when the wearer is seated. Aligning the design with the shoulder seams helps maintain balance and symmetry.
This placement is especially useful for creating a cohesive look when combined with front designs, such as a center chest or left chest logo. It allows for a subtle yet professional touch, enhancing the shirt’s appeal without being overly intrusive.
3.5 Full Back Placement
The full back placement is ideal for larger, more intricate designs, offering ample space to showcase detailed graphics, bold statements, or promotional content. This placement is particularly popular for sports jerseys, event promotions, and artistic designs that require maximum visibility.
To achieve the best results, position the design 2.5-4 inches below the neckline and allow it to extend downward, ensuring it remains proportional to the shirt. Avoid centering the design; instead, “cheat it” slightly toward the top for a more balanced look.
It’s important to ensure the design does not extend too far down, as it may interfere with the hem or become distorted when the shirt is worn. The full back placement is perfect for making a bold statement and is often paired with smaller designs on the front for a cohesive look.
Designs for full back placement typically range from 8 to 12 inches in height, depending on the complexity and the shirt size. This placement is a great way to maximize brand visibility and create a striking visual impact.
3.6 Sleeve Placement
Sleeve placement is a modern and stylish way to add an extra flair to your custom t-shirts. This placement is ideal for small logos, graphics, or text, offering a subtle yet impactful way to enhance your design.
For optimal results, place the design 1-4 inches below the shoulder seam, centered both horizontally and vertically on the sleeve. This ensures the design is visually balanced and easy to see. Sleeve designs are typically small, ranging from 11 to 44 inches in size, depending on the sleeve length and t-shirt style.
This placement is particularly effective for adding a secondary design element, such as a brand logo or a complementary graphic, without overwhelming the front or back of the shirt. It’s also a great way to add uniqueness to long-sleeve designs, where you can place logos near the cuff or incorporate repeating patterns for a trendy look.
Sleeve placement works well for both casual and professional designs, making it a versatile option for various projects. By keeping the design proportionate to the sleeve, you can achieve a polished and cohesive look that complements the overall design of the t-shirt.
Additional Design Elements
Enhance your t-shirt designs with strategic combinations of placements, tools, and final touches. Use rulers or guides for precise alignment and explore creative layout combinations. Balancing design elements ensures a cohesive look, while tools like measurement guides help achieve professional results.
4.1 Combining Placements for Cohesive Design
Combining design placements can create a balanced and visually appealing look. For instance, pairing a small left chest logo with a large back design offers a cohesive aesthetic. This approach ensures that the front remains understated while the back makes a bold statement. Similarly, adding sleeve designs can complement front or back placements, enhancing the overall style. When mixing placements, consider the size and complexity of each design to avoid overwhelming the garment. Symmetry and alignment are key; ensure that designs align with seams or natural lines of the shirt. Tools like rulers or guides can help achieve precise placement. Additionally, maintaining consistent proportions across different shirt sizes is essential for a professional finish. By thoughtfully combining placements, you can create designs that are both functional and visually striking, ensuring your custom tees stand out. This technique is particularly effective for branding, event promotions, or artistic expressions.
4.2 Tools for Accurate Placement

Achieving precise design placement requires the right tools. A T-Shirt Ruler Guide is essential for measuring and aligning designs accurately. This tool provides a size chart and helps mark the optimal placement points for various shirt sizes. For heat press users, a heat press alignment tool ensures designs are centered and evenly spaced. Alignment rulers are also handy for positioning logos or graphics symmetrically on the chest, back, or sleeves. Additionally, laser alignment tools can be used to pinpoint exact placement locations, especially for intricate designs.
Another useful method is creating a reusable placement guide by marking measurements on a transparent cutting mat. This allows for consistent placement across multiple shirts. For large-scale productions, screen printing pallets with pre-marked alignment points are ideal. These tools not only save time but also ensure professional-quality results. By investing in the right equipment, you can achieve precise, consistent placement that elevates your custom tees to the next level.
4.3 Conclusion and Final Tips
Mastering t-shirt design placement is a blend of creativity and technical precision. By understanding key considerations like garment size, fabric type, and printing methods, you can create designs that are both visually appealing and functional. Always collaborate with your printer to ensure alignment with their specifications, as they often provide valuable insights and guides.

When designing, consider the balance between aesthetics and practicality. For instance, bold statements work well on the center chest, while subtle branding thrives on the left chest. Experiment with combining placements, like pairing a small logo on the chest with a larger design on the back, to create a cohesive look.
Finally, invest in tools like rulers, alignment guides, and reusable templates to ensure accuracy. Measure twice and print once to avoid costly mistakes. Remember, practice makes perfect—test your designs on different shirt sizes and styles to refine your approach. With these tips, you’ll be well-equipped to craft custom tees that leave a lasting impression. Happy designing!